How to Export IMAP to MBOX File?

If you are looking to export IMAP to MBOX, then you have reached the right place. In this write-up, I have explained the step-by-step process for exporting emails with complete items from IMAP to MBOX file format. Go through this article till the end and explore multiple solutions to perform this task.
Why Users Export IMAP to MBOX Format?
There are several reasons why users convert the MBOX format. Some of the most important reasons are listed below.
- MBOX is ideal for organizing old emails and storing them in a readable and portable format.
- Provides additional security in case of accidental deletion, data backup to local hard drive or server failure.
- MBOX supports multiple email clients, simplifying access to email accounts.
- Improves performance by deleting emails from the cloud, thus freeing up storage space on the server.
- MBOX simplifies the heavy configuration process of migrating emails from one IMAP service to another.
These were some of the most common reasons why users switched to MBOX files.
Now, let’s move towards methods of conversion.
Several Approaches to Convert IMAP to MBOX File
There are multiple methods that users can choose from to export IMAP to MBOX files. The first method that we will user here is by using Thunderbird and the second one includes using a professional solution.
So, let’s start with understanding the method.
How to Export IMAP Emails to MBOX Using Thunderbird?
We use Thunderbird to convert IMAP to MBOX format. This process involves two main steps to create an MBOX file. Therefore, follow each step carefully to export your emails as an MBOX file.
Step 1. Set up an email account with Thunderbird
- Run the application to your desktop.
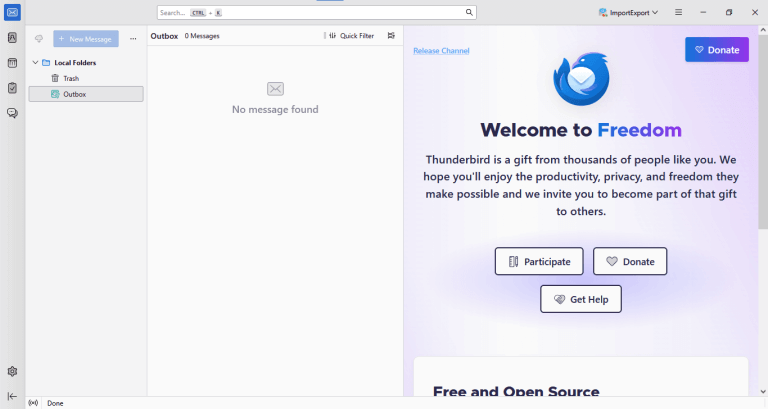
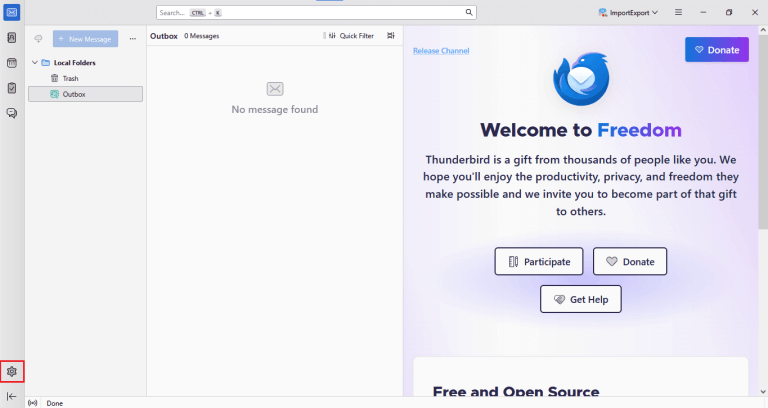
- Click on the “Gear” icon to open settings.
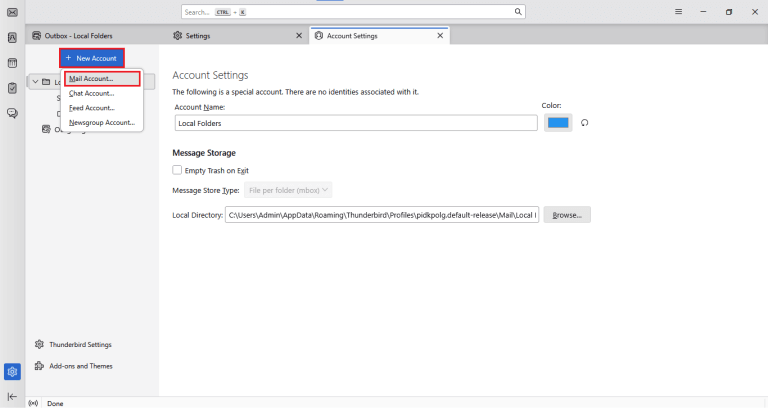
- Click on “Account Settings “, go to the “New Account” option.
- Then, click on “Mail Account” to add your account.
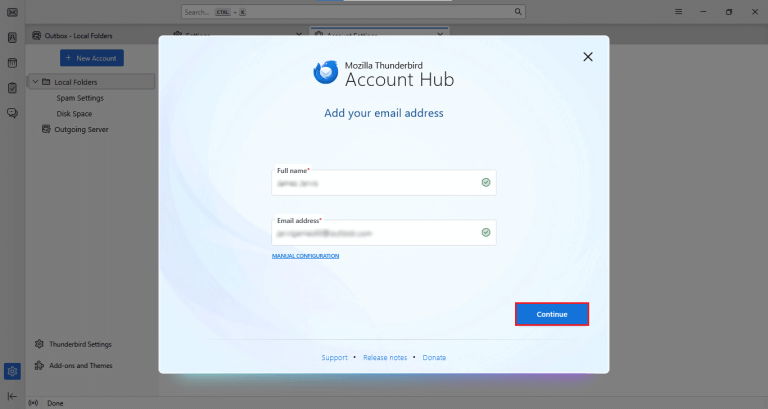
- Here, enter your “Full Name“, “Mail address“, and “Password” and configure the account with Thunderbird.
- Then, click on the “Continue“ button.
- Now select the “IMAP” option and hit “Continue”.

Done! Your account is added to Thunderbird.
Now, let’s move on to Step 2.
Step 2. Export from Thunderbird.
- Install the “ImportExportTools NG” add-on in your Thunderbird application. (If you have already installed, then move to the next step)
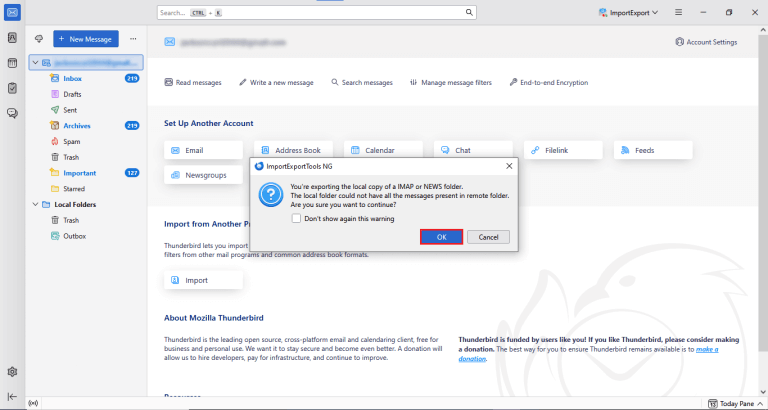
- After that, go to your IMAP email account mailbox and right-click and select the ImportExportTools NG option.
- Select the “Export Account” option.

- Here you will see a popup by thunderbird, click “OK” button to get your “MBOX” file.
- Now browse the file location and select a folder to save your MBOX files.
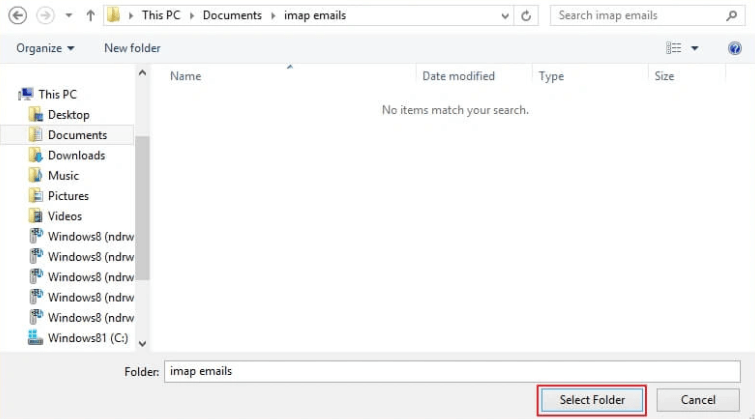
Finally! Your exported MBOX file will be saved to the selected folder for the Thunderbird application.
Follow the above step-by-step instructions and get your MBOX files.
How to Download IMAP Emails to MBOX Format Using Google Takeout?
To get IMAP emails in MBOX format, carefully follow the instructions below to create an MBOX file.
- Open the “Google Chrome” application on your Windows PC.
- Search “Google” and type “Google Takeout” and hit “Enter” on your keyboard.
- Scroll down slowly and choose “Create a new export”.
- Deselect all the Check marks.
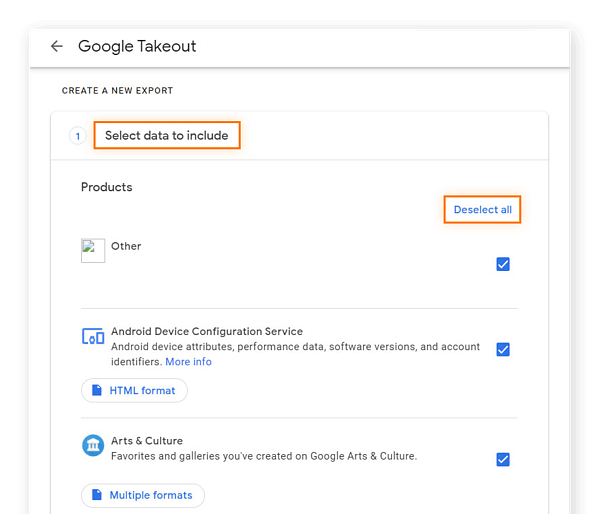
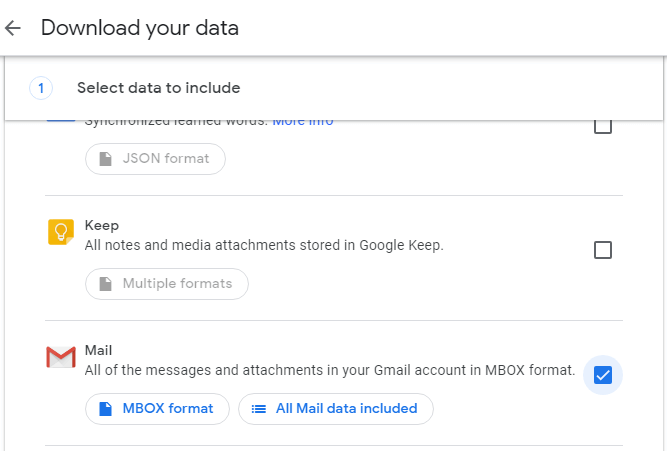
- Check the mark only on the “Mail” option and click the “Next Step” button.
- You will find a list of options.
- Select the option “Send download link via email“.
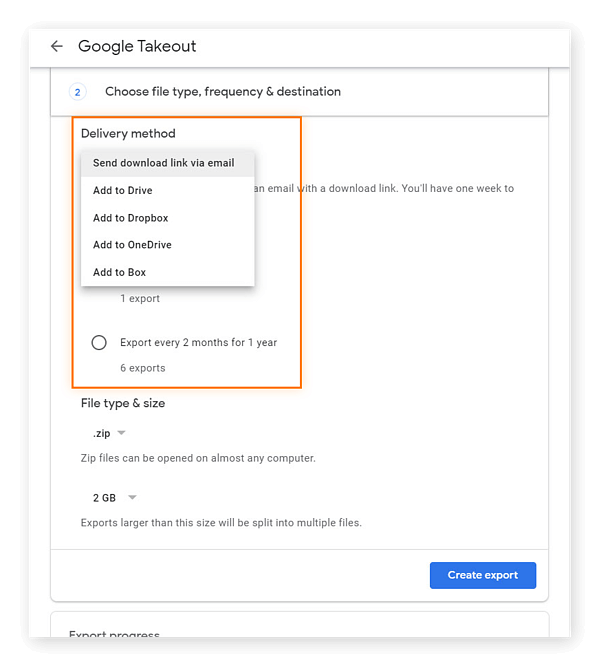
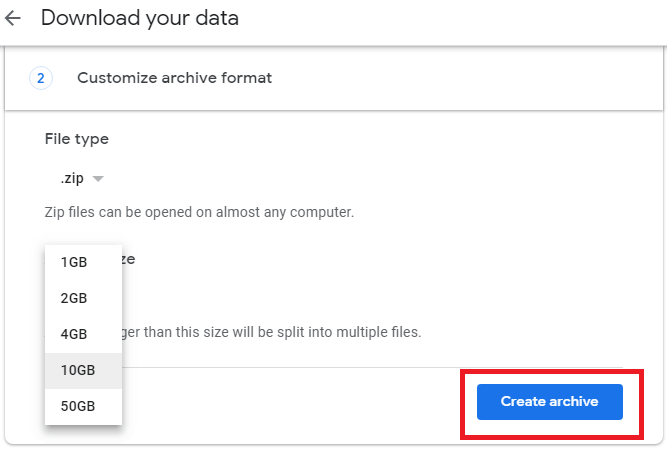
- Select the “.zip” option and also choose “File Type & Size.”
- Afterwards, select “File Size” according to your need.
- After that, click on “Create Archive“.
- Your export process will start in and move to the archive section in a few seconds, but you won’t get MBOX file immediately.
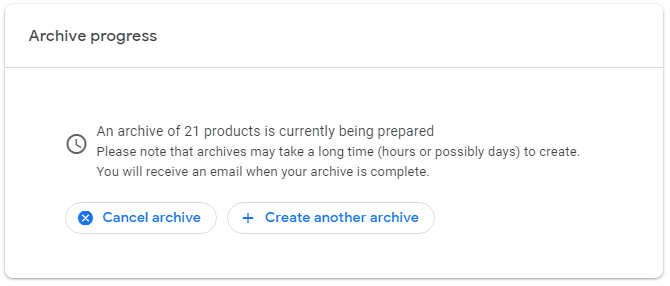
- When the export process is completed, you will receive an email from Google in which you will find a “download archive” button.
- Open the received email, and directly click on the given “Download archive” button in the email.

Finally, your MBOX file is extracted to your Windows folder.
Limitations of manual methods:
We have explained two manual methods above, and both methods have limitations, which are shown below.
- If you use the Thunderbird application to export IMAP files to MBOX file format, your system may freeze, and attachments will be lost due to incomplete data backup.
- When using Google Takeout, you have to wait 24 hours for your MBOX file to become available. Google does not offer an option for automatic backups. Furthermore, users cannot export files from specific folders.
In this case, you can check out the next method below.
How to Convert IMAP Emails to MBOX Automatically?
If you feel both the above-mentioned methods are lengthy and you are not able to use so, don’t worry, now you need to try an instant solution, i.e., Xtraxtor. This tool simply export IMAP to MBOX files while maintaining file hierarchy with email attachments. It also offers the option to selectively convert IMAP to MBOX with an advanced filter. Additionally, you can also take backup of IMAP to MBOX.
Click below to download the free demo version of this software and test its working.

Steps to Convert IMAP emails to MBOX File
- Complete the installation and open the Software in your operating system.
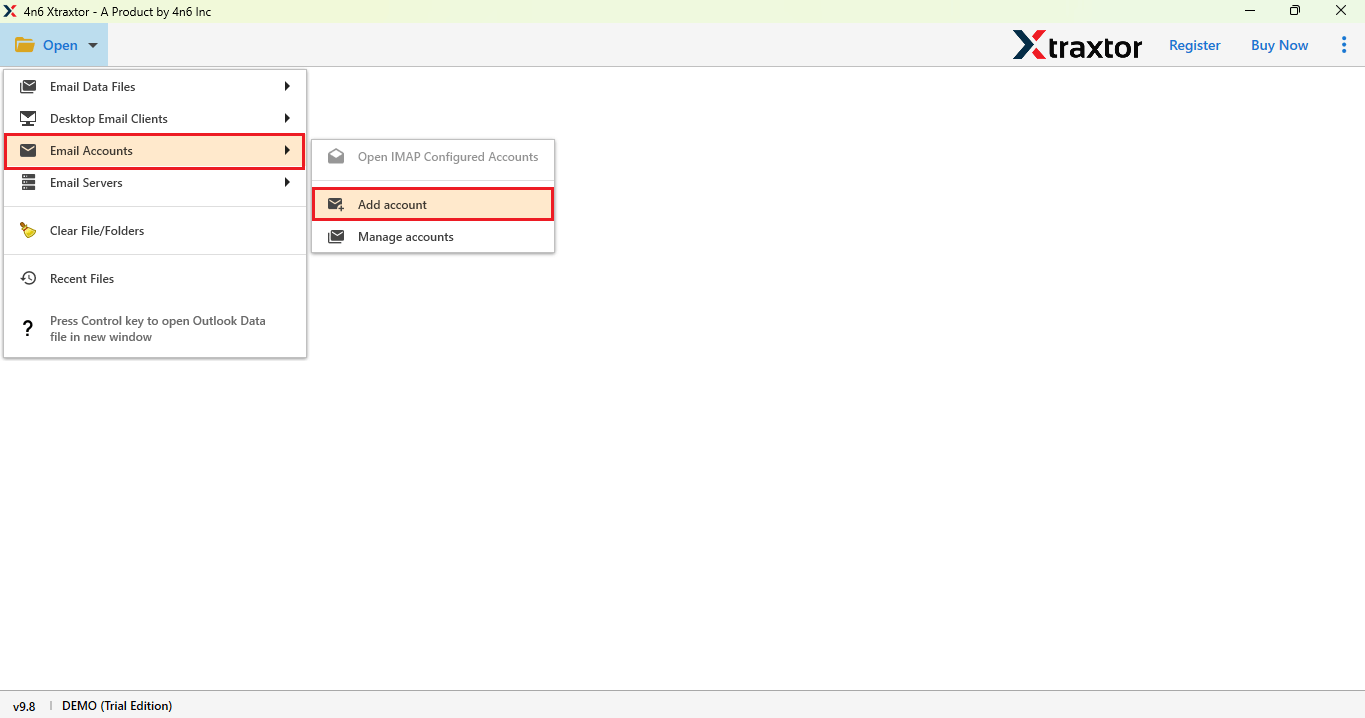
- Click on the Open button and select the email account option, and choose Add account.
- Now, enter your Email account with its App password click on the Add button.

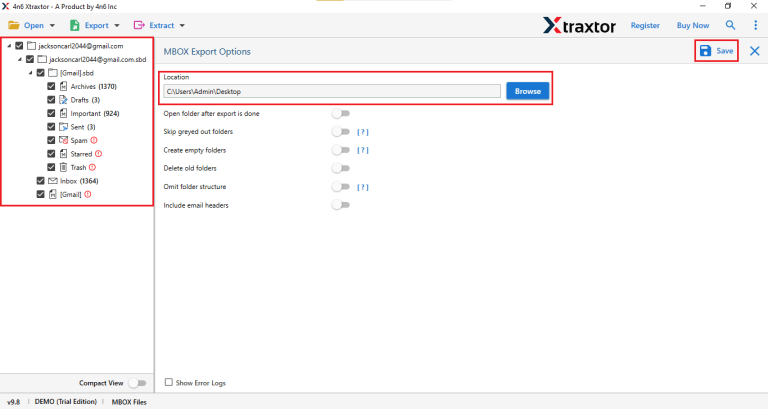
- Now, simply click on the Export button and select MBOX.

- Here, select the Folders> Browse the location> Save.
Finally! Your IMAP account email is directly exported in MBOX format.
If you follow the step-by-step instructions above, you can smoothly export your IMAP server to MBOX.
Advantages of using a Professional Solution
- It works on 200+ webmail accounts for the backup process.
- This software’s user-friendly interface makes it accessible to non-tech users.
- Using the same tool, you can also export IMAP to PST file format.
- There are various advanced filters, such as to, from, date, time, cc, bcc, etc.
- It is compatible with Windows versions 11, 10, 8, 8.1, 7, and XP.
- The solution is safe and secure and doesn’t lose any data during the process.
- It preserves folder hierarchy and transfers emails in their original format.
Wrap Up
In this blog, we explained both the manual and the professional methods. We found that the manual method is lengthy, can freeze our system, and takes about 24 hours. Additionally, it doesn’t allow us to selectively export IMAP to MBOX. Therefore, using a recommended tool is the best option that can convert IMAP to MBOX in just a few clicks and on time.
