How to Backup Rackspace Emails to Computer?

Summary: Here in this blog we will discuss the steps to backup Rackspace emails manually or automatically. If you are looking for a way of taking backup of your Rackspace mailbox data, then this post is for you. Read till the end and download all emails from Rackspace mailbox with attachments.
Rackspace is a well-known American cloud computing company based in Texas, with offices in the UK, USA, Australia, Germany, and more. It offers various services, including email hosting, with Rackspace Email being a popular paid business email service. Webmail.us started providing services to Rackspace in 2001 and later acquired the company in 2007. Today, Rackspace is a major provider of email hosting and webmail services worldwide.
Before we move ahead and know the ways to backup emails from Rackspace mailbox, let’s know the reasons behind it.
Why Need to Save Rackspace Webmail Emails?
There can be various reasons why users want to backup their important emails. The backup process is useful for several reasons:
- Backup & Security – Keep emails safe from hacking, crashes, or accidental deletion.
- Offline Access – View emails anytime, even without the internet.
- Free Up Space – Save emails locally to make room for new messages.
- Easy Migration – Move emails to Outlook, Gmail, or other services.
- Legal & Compliance – Store emails for records and regulations.
- Data Security: Backing up emails ensures your data is secure and always accessible when needed.
Now we know the main reason for the backup emails in above section. Now here in this blog, we will discuss two efficient ways to backup all emails from Rackspace account along with attachments.
How Backup Rackspace Mailbox Manually?
If you want to download emails from Rackspace mailbox manually, then you can use the Outlook email client for that. Follow the instruction for that –
Step 1. Configure Rackspace to Outlook
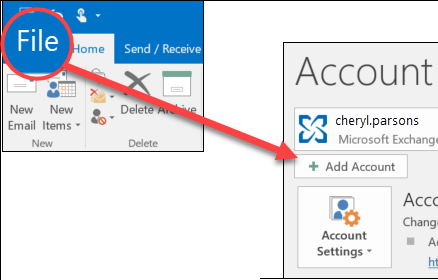
1. Open your Outlook application and then, click on File >> Add Account.
2. Enter your Rackspace email address and click on the Connect button.
3. After that, Choose the IMAP option present on the screen.
4. Then, enter your Rackspace password and move ahead.
5. A message will pop up, now your webmail account is connected to Outlook.
Step 2: Export Rackspace Email to Computer
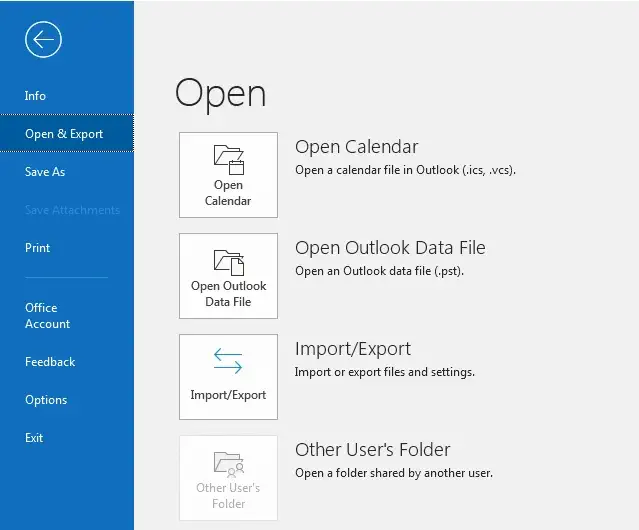
1. Reopen your Outlook application and click on File >> Open & Export >> Import/Export option.
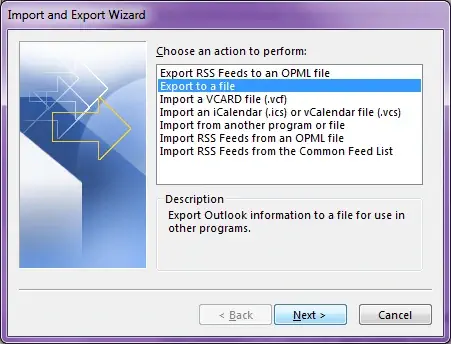
2. After that, select the Export to a File option.
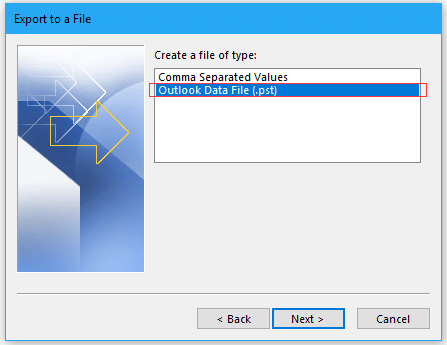
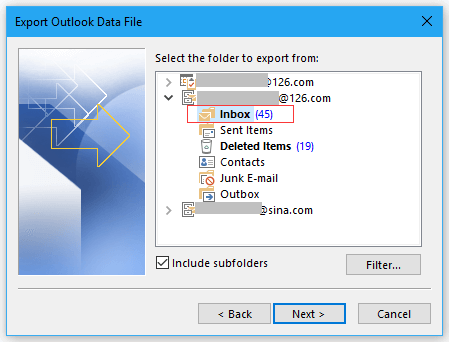
3. Then, choose Outlook Data File (.pst).
4. Select your Rackspace email id or you can choose the email folders.
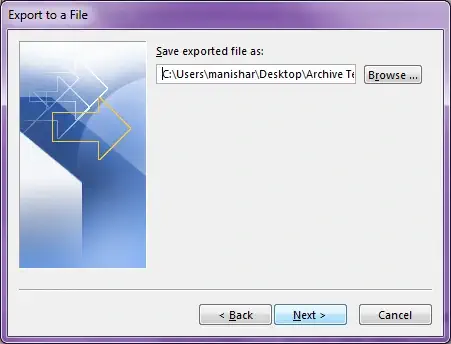
5. Browse the location to save the exported data and click on the Finish button.
Here you backup Rackspace emails in PST file format. Now you can access your webmail account data on your system without any hassle. However, this manual solution has major drawbacks –
- It will save your Rackspace emails only in PST file.
- The backup data file can be corrupted if the configuration process encounters an error.
- There is no option to backup selective emails only.
How to Download Emails from Rackspace Automatically?
To save your mailbox emails to your system, you can use the Xtraxtor software for that. The tool will effortlessly backup your mailbox emails along with attachments. Moreover, while backing up your Rackspace emails, this tool will maintain the email folder and sub-folder hierarchy and structure. Additionally, there is a search bar in this tool that can search emails from any particular time, date, person, subject, cc, bcc, etc. and backup them only.
Click the download link and use Rackspace Email Backup Tool for free.

Steps to Backup Rackspace Emails to PC
Step 1. Install and Run the software on your system.
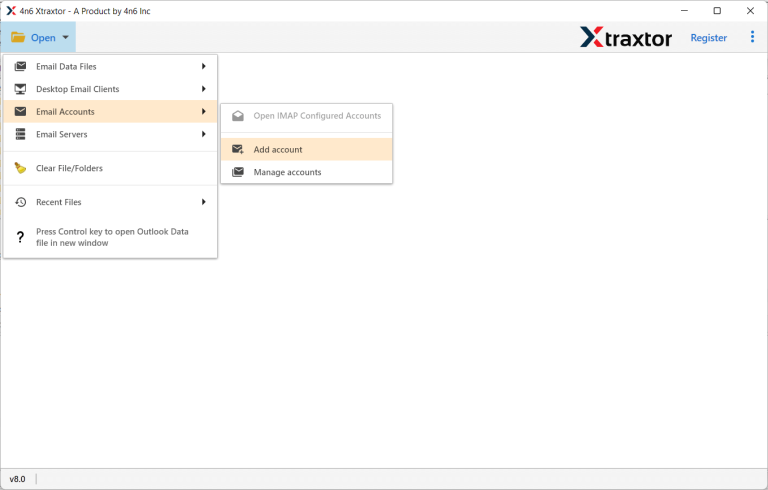
Step 2. Then click on Open >> Email Account >> Add Account.
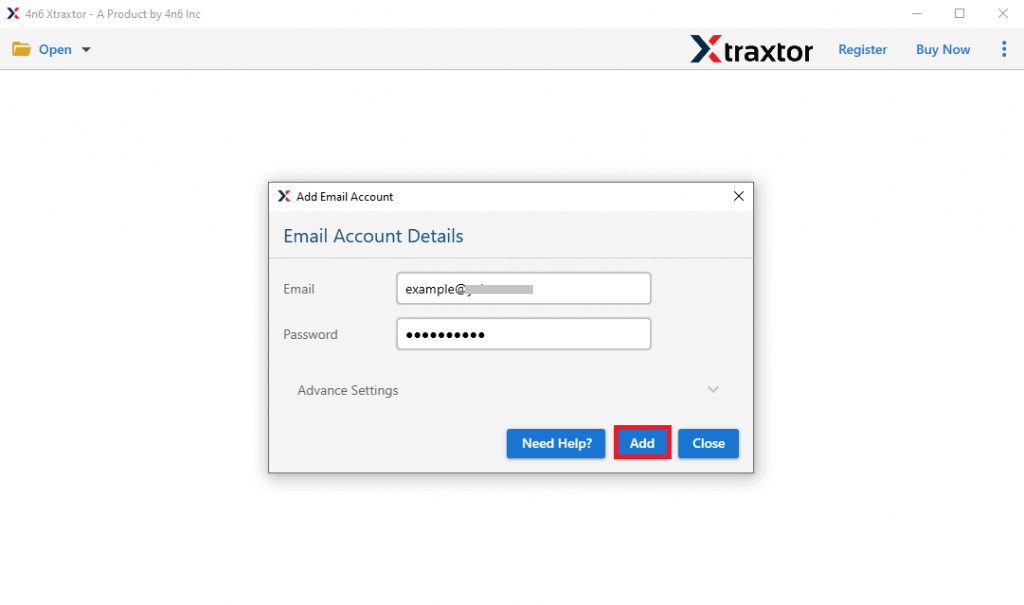
Step 3. Enter your Rackspace email id and password and hit on the Add button.
Step 3. Here you can view your emails before exporting them.
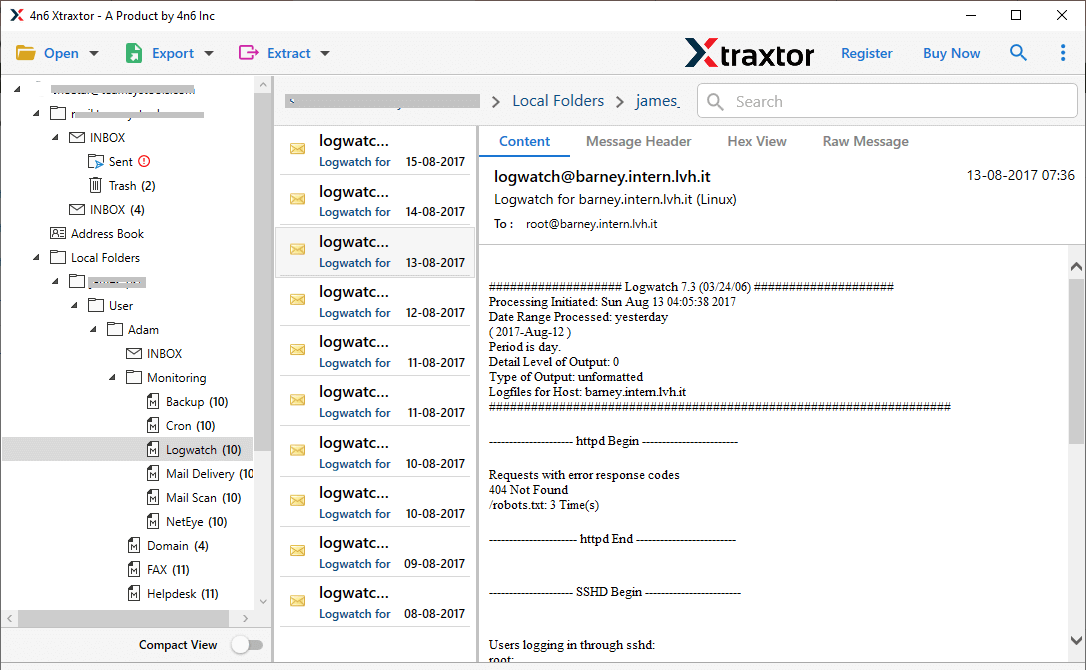
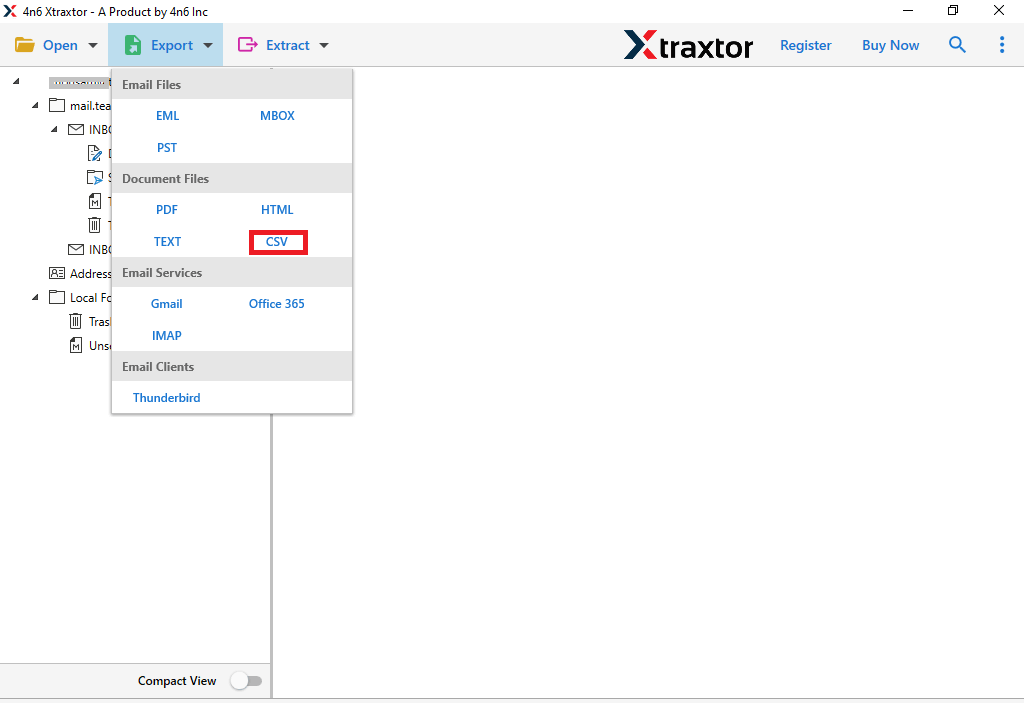
Step 4. Click on Export and choose any file format.
Step 5. Browse the destination location and hit on the Save button.
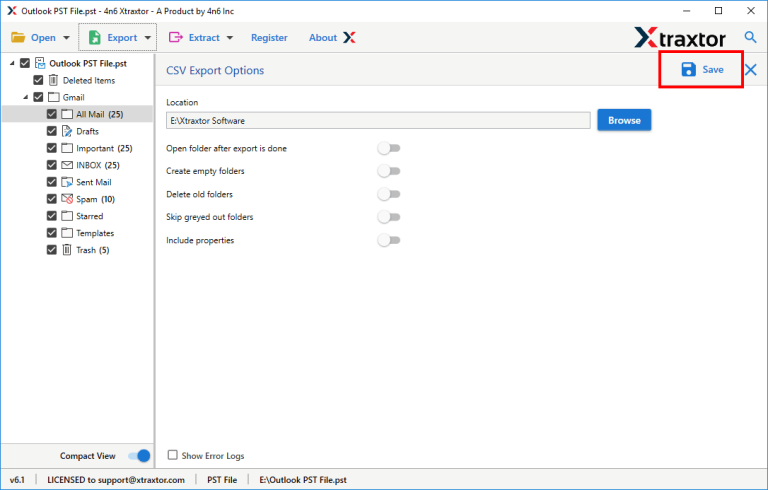
Done! Here the toll will start downloading Rackspace emails to your system in a few seconds depending on your mailbox size.
Why Use Xtraxtor to Backup Rackspace Emails?
With this tool there are various prominent features, some of them includes –
1. Direct Email Backup: Effortlessly back up emails from your Rackspace account without the need for complex configurations. Supports multiple file formats for convenience.
2. Selective Folder Backup: Avoid unwanted data export by selecting specific folders to back up. This helps in saving storage space and time.
3. Multiple File Format Support: Export emails in various formats such as PST, MBOX, EML, PDF, HTML, and more, ensuring compatibility with different email clients and applications.
4. Email Migration to Other Accounts: Seamlessly transfer Rackspace emails to Gmail, Yahoo, Office 365, Outlook.com, and other webmail services without losing any data.
5. Maintains Folder Structure: Preserves the original folder and sub-folder hierarchy, ensuring that the backed-up emails remain organized and easy to access.
6. Advanced Email Filters: Apply filters based on date, subject, sender, or recipient to back up only the required emails instead of the entire mailbox.
7. Easy-to-Use Interface: A simple and user-friendly interface makes the backup process smooth, even for non-technical users.
8. No Data Loss: Ensures that emails, attachments, metadata, and formatting remain intact after backup or migration.
Conclusion
For a secure Rackspace webmail backup, choosing the right method is essential. This guide covered two effective solutions: a manual approach using Outlook and an automated tool for quick and direct backup. Both methods help you save emails with attachments safely. You can select the option that best fits your needs.
