How to Import Outlook Data Files to Office 365?

Introduction: Importing an Outlook Data Files (PST) to Office 365 is a common task for users looking to transfer their emails, contacts, calendars, and other data to the cloud. Whether you’re upgrading to Office 365 or simply want to access your Outlook data from anywhere, the process is straightforward. In this guide, we’ll walk you through the steps to easily import Outlook Data Files to Office 365, ensuring all your important information is safely transferred and accessible in the cloud. Keep reading to learn how to quickly import Outlook Data Files to Office 365 with ease.
Do you also want to add Outlook data files in Office 365? If yes then you have landed at the right place. In this write-up, we will discuss how to import Outlook data file to Office 365. Here, we will provide two workable solutions manual and automated solutions to open Outlook data files in Office 365.
Microsoft Outlook is an email client that allows users to store their data in Outlook data file format. Outlook is a desktop email client. Nowadays, cloud-based email platforms are the best choice to keep your important data secure. So, users want to migrate their data to Office 365. It allows users to open and access their Outlook data files from anywhere and at any time. So, here we are going to explain the easiest and most effective solution to import PST to Office 365 but before proceeding on techniques we consider the reasons for this importing process.
Why do Users Need to Import Outlook Data Files to Office 365?
There are many benefits to import Outlook data files to Office 365. Some of them are given below-
- Cloud-Based Accessibility: Office 365 allows you to access your email, contacts, calendars, and other data from anywhere with an internet connection. This is particularly valuable in today’s remote and mobile work environments.
- Enhanced Collaboration: Office 365 offers collaboration features that enable real-time co-authoring of documents, sharing of calendars, and seamless communication through Microsoft Teams and other tools.
- Data Security: Microsoft invests heavily in security measures to protect your data in Office 365. This includes threat protection, data loss prevention, encryption, and compliance features.
- Automatic Updates: With Office 365, you receive regular updates and new features automatically, ensuring that your email and productivity tools stay up to date without manual software upgrades.
- Integration: Office 365 integrates seamlessly with other Microsoft products like SharePoint, OneDrive, and Azure, as well as third-party applications, providing a comprehensive productivity suite.
Hence, there are several benefits of import Outlook data files to Microsoft 365. Now, we will explore the methods to import Outlook data files to Office 365.
Methods to Upload Outlook Data Files to Office 365
You can manually import Outlook data files to Office 365. Here, we will discuss two manual solutions and one expert solution for importing Outlook data files. One is using Outlook and the other one using Network Upload using automated Tool. While automated solutions directly complete importing process in a few seconds. All methods are explained in detail in the next upcoming section.
Method 1. Import Outlook Data File to Office 365 using Outlook
In this method, first of all you need to configure Office 365 account with Outlook and then import Outlook files to Microsoft 365 using import export option.
- Launch Outlook email client on your system.
- Now, click on File >> Info >> Add Account.
- Enter email address of Office 365 account and then press Connect button.
- Type Password of O365 account to complete the configuration process.
- After that, again navigate to File >> Open & Export >> Import/Export.
- Select Import from another program or file and then hit on Next.
- Choose Outlook Data File (.pst) and then press Next button.
- Click on Browse to choose file that you want to import into Office 365.
- Select the Office 365 account and press Finish button to start importing process.
Limitations of this Manual Method
- To configure both email accounts users must have technical knowledge.
- Outlook must be installed on your system.
- In case Outlook import export option greyed out then this method does not work.
Method 2. How to Upload Outlook Data Files into Microsoft 365 using AzureAZCopy Tool
To import Outlook PST files to Office 365 with this method, you must assign the import export and mail recipient to the user accounts. This method works in many phases which are given below-
Step 1. Assign Import Export Roles
- Log in your Office 365 account and go to Admin option.
- Now, Click on Roles >> Roles Assignment.
- Then, hit on Exchange and choose Add role group option.
- After that, type add role group name and description in the respective field and then press Next.
- Now, select Mail Recipient and then hit on Next.
- Enter Office 365 email address and click on Next.
- Click on Add role group to finish the phase.
- Now, you can check import Outlook data files into Office 365 role group has been added and then press Done button.
Step 2. Create SAS URL
- Sign into Office 365 and select Compliance.
- Now, Go to the Microsoft Purview and select Data Lifecycle Managment and then Microsoft 365.
- After that, select Import option under Data Lifecycle Managment.
- Choose +New Import Job.
- Type Job name and click on Next.
- Now, select Upload your data and press Next.
- After that, Choose Show Network Upload SAS URL to Create SAS URL.
- Click Copy to clipboard and then click Download AZURE AZCopy to download the tool.
Step 3. Import Outlook Data Files to Azure Storage
- Download AzCopy according to the bit of your computer.
- After downloading, extract the tool to your Desktop and either copy the folder containing the PST files to your Desktop or connect the external media drive where they are stored.
- Next, open Command Prompt and navigate to the extracted folder on the Desktop using the ‘cd’ command. Once you’re in the right directory, execute the following command to initiate the upload of PST files to Azure Storage:
Azcopy copy pathToFolder/ContainingPST “SAS URL” –recursive=true. - Now, proceed to upload the folder containing PST files to Azure Storage. Please be patient during this process as the upload duration may vary depending on your network speed and available bandwidth.
Step 4. Verify the Imported Outlook Data Files
After downloading, initiate the installer and opt for the ‘Install for me only’ option. Once the installation is finished, proceed to launch the Azure Storage Explorer. Within the application, choose ‘Blob container’ and then ‘Shared access signature URL (SAS).’ Paste the previously copied SAS URL into the ‘Blob container SAS URL’ field.
To upload PST files to Office 365 and confirm their successful upload, click ‘Next’ followed by ‘Connect.’ Under ‘File Shares,’ you will locate the PST folder. To ensure the presence of PST files, simply open the folder.
Step 5. Create a CSV Files for Mapping
- Begin by opening Microsoft Excel and creating a new Excel sheet to craft your CSV files.
- In this new Excel sheet, establish columns for File Path, Name, Mailbox, IsArchive, and Target Rool Folder.
- Proceed to the ‘File’ menu and select ‘Save As.’
- From the provided options, opt for ‘CSV UTF-8 (Comma Delimited) (.csv)’ and click ‘Save’ to generate the CSV file.
- Return to the Import window to upload the CSV file and click Next.
- Choose the CSV PST Import Mapping File and click Open.
- To ensure accurate mapping, click Validate.
- Once the CSV file’s validation is successfully completed, click Next. Your PST files are now ready for import into the shared mailbox in Office 365.
Step 6. Start PST Import Job
- To initiate the PST import process, return to the Microsoft 365 Import Data Wizard and follow these steps:
- Ensure that you’ve selected the checkboxes labeled “I’m done uploading my files” and “I have access to the mapping file,” then click Next.
- Follow the provided steps to upload your PST files to Office 365.
- Click on +Select mapping file, validate it, and then click Next. If validation encounters issues, download the logs to diagnose the problem.
- Click Submit and then press Done.
- To monitor the import progress, navigate to the Information Governance section.
- Once the import is completed, the status will change to Import completed.
- You can also log in to your Microsoft 365 account where the PST files were imported and verify the presence of folders and mail items.
Now, you can access to all your mail items within Office 365.
Method 3. How to Import Outlook Data Files to Office 365 Error Free?
Download and run PST Converter on your Windows PC. The software can directly upload Outlook data files into Office 365 without any external help. The interface of this utility is very simple and easy to use. Any novice user can easily complete the importing process without any technical knowledge and guidance. The software has dual mode to import single or multiple Outlook data files at once. It preserves 100% data integrity during the importing process.
Moreover, the tool can also import PST file to Gmail, Yahoo Mail, AOL Mail, Zoho Mail, Outlook.com, and many other email accounts. It is able to maintains the original structure of Outlook data file throughout the process. Try its free demo version and open Outlook data file in Office 365 with ease.


How to Import Outlook Data File to Office 365?
- Launch this software on your system.
- Now, Click on Open >> Email Data Files >> Outlook PST/OST Files >> Choose Files or Folders.
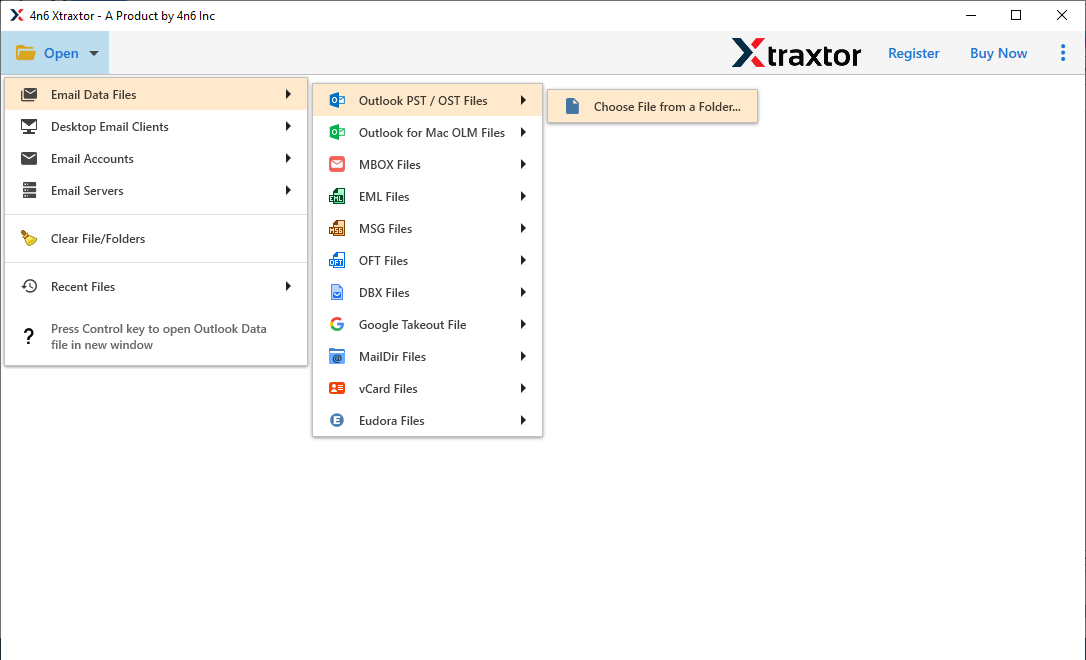
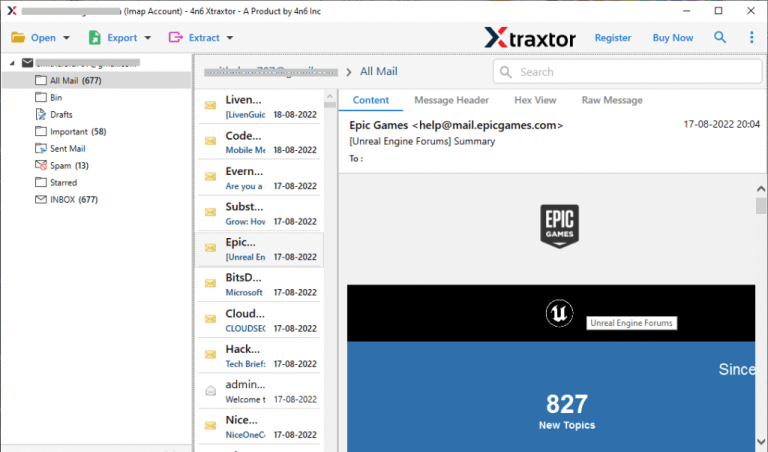
- Here, you can view emails and other data items from Outlook data file.
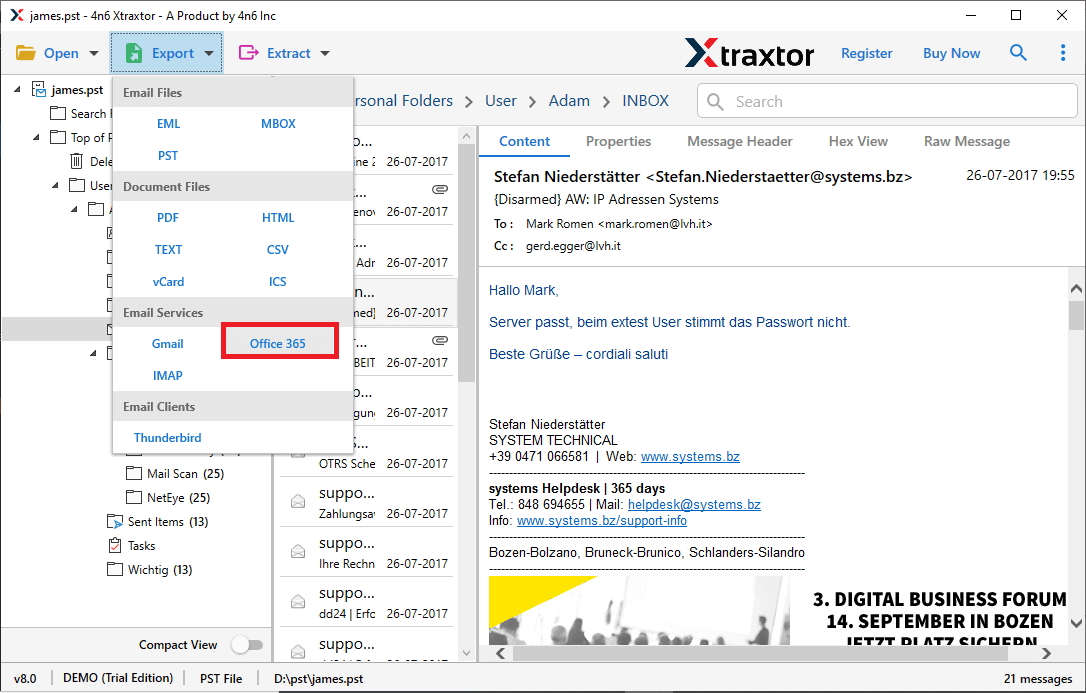
- After that, click on Export and choose Office 365 from given options.
- Choose the folders that you want to import from Outlook data file.
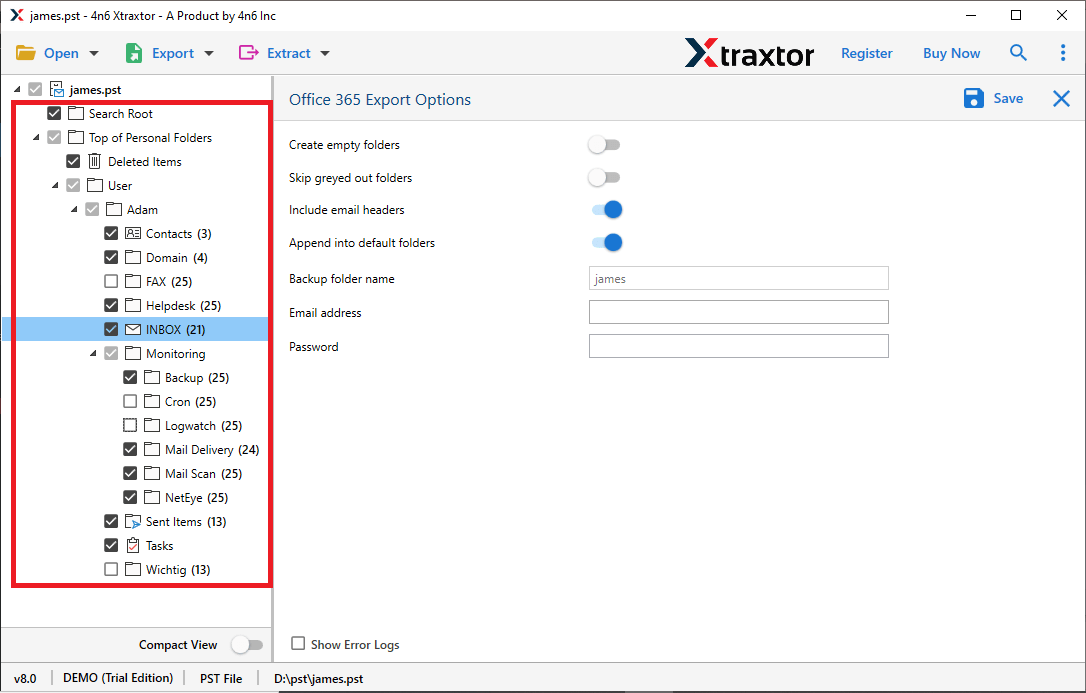
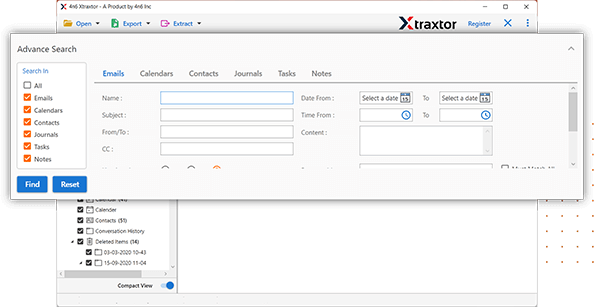
- Apply the filters to upload selected data items.
- Enter Office 365 credientials and then press Save button to start importing process.
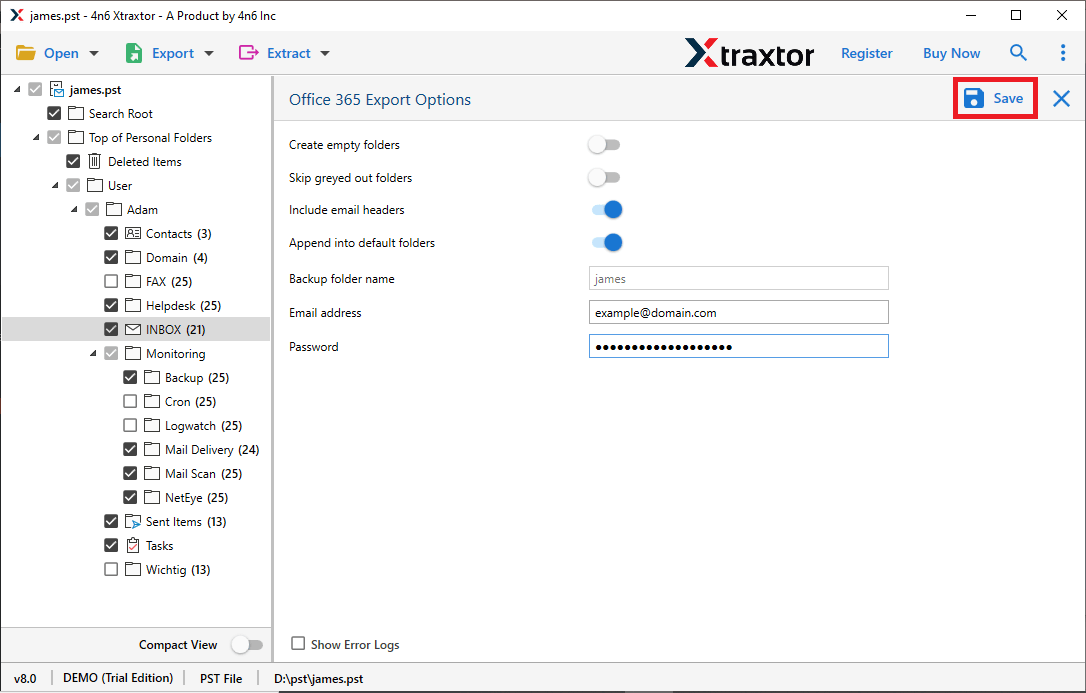
The process is complete! Hence, you can easily upload Outlook data files into Office 365 in a few simple clicks.
Conclusion
In this post, we have discussed how to import Outlook data files to Office 365. Here, we have explained manual as well as automated solutions to upload Outlook data files to Microsoft 365. You can manually open Outlook PST files in O365 but if you face any issues with it then you can use the above-suggested tool. The software can directly complete the importing process without any external help.
