How to Import OST to Gmail Account?

Are you stuck with an OST file and unable to import OST to Gmail? This is a very common problem, especially when Outlook stops working or Exchange access is lost.
The good news is: you can still move OST emails to Gmail. In this guide, you’ll learn what works, what doesn’t, and the easiest way to import OST data into Gmail without confusion.
First, Understand the Problem Clearly
An OST file is created by Microsoft Outlook when it is connected to an Exchange Server, Office 365, or Outlook.com. It works only with Outlook and its server connection.
Why does this become a Problem?
You cannot access OST emails when:
- Outlook account is deleted or disabled
- Exchange server is no longer available
- You changed your system
- Outlook crashes or won’t open
- You want emails in Gmail for easy access
That’s why users look for a way to open OST data in Gmail.
Why Gmail Is the Preferred Choice
Users move OST emails to Gmail because Gmail:
- Works fully online (no Outlook needed)
- Opens on mobile, browser, or any computer
- Keeps emails safe even if your PC fails
- Offers strong spam protection & security
- Makes searching old emails easy
So, moving OST to Gmail is about access, safety, and convenience.
How to Open OST File in Gmail for Free?
There is no direct manual option to import an OST file into Gmail. So the only possible way is to follow these complex steps.
Step 1. Open Outlook >> File.
Step 2. Go to Account Settings >> Account Settings.
Step 3. Select Data Files.
Step 4. Choose your OST file >> Click Open File Location.
Step 5. If you cannot see the folder, enable Hidden Items from the View tab.
Step 6. Because Gmail cannot open OST files directly, you must convert them to PST first.
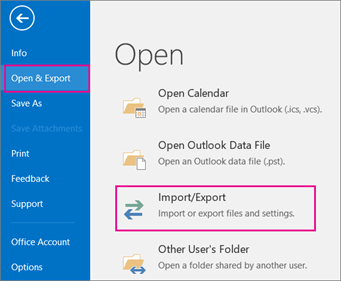
Step 7. Go to File >> Open & Export >> Import/Export
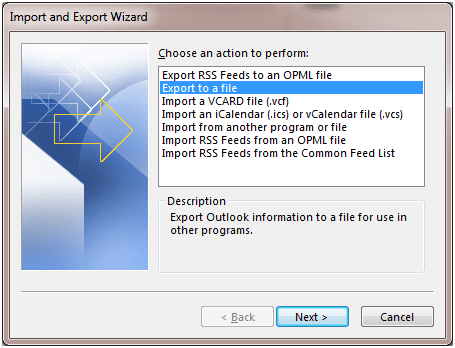
Step 8. Choose Export to a file >> Next.
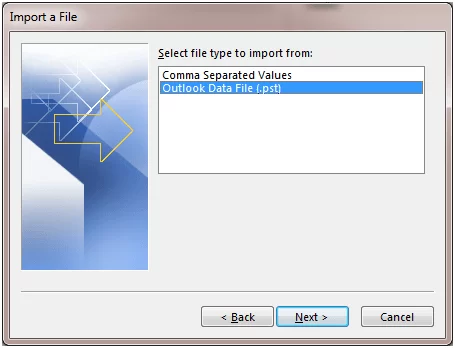
Step 9. Select Outlook Data File (.pst) >> Next.
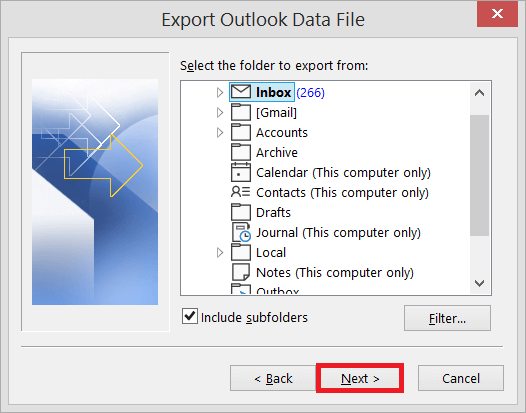
Step 10. Choose the OST folders you want.
Step 11. Select a location and click Finish.
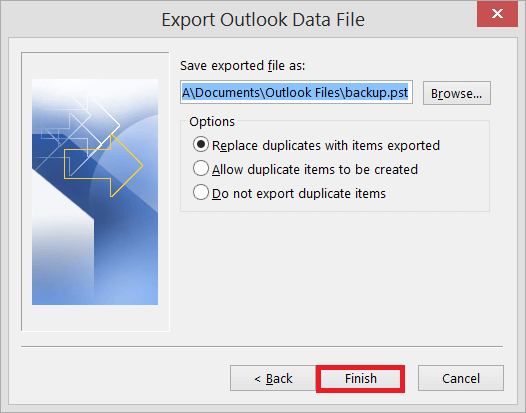
Step 12. Now you have a PST file.
Step 13. Google provides a utility called GSMMO to import PST into Gmail.
Step 14. Download and run the GSMMO application
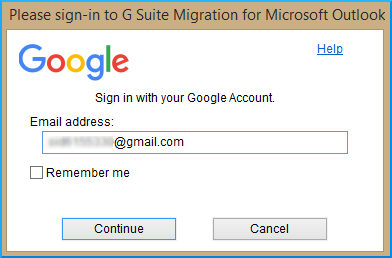
Step 15. Sign in with your Gmail account.
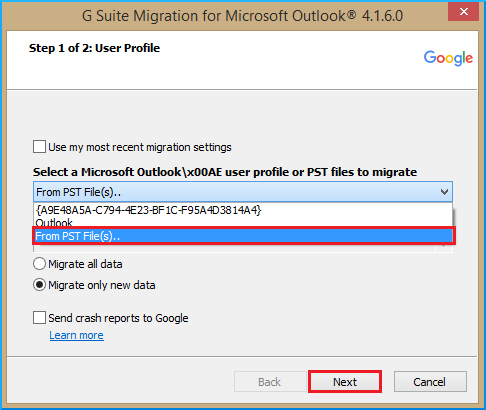
Step 16. Allow permissions & choose from PST File(s).
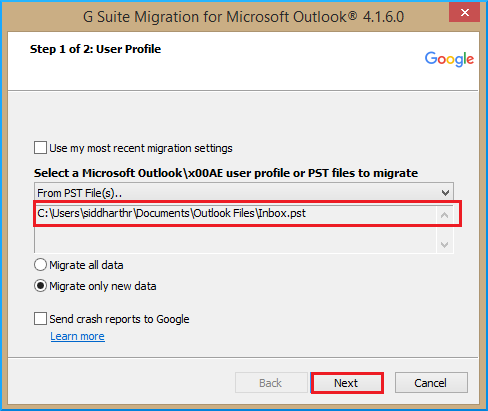
Step 17. Select the PST file you exported
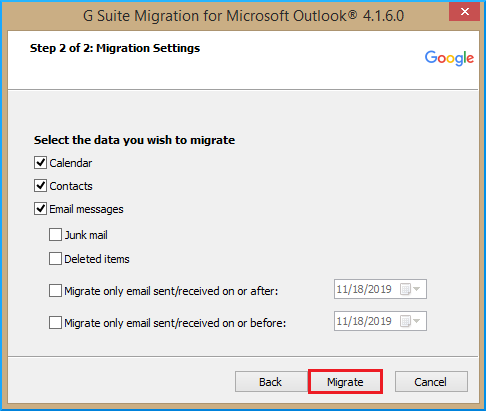
Step 18. Choose what to import and click Migrate.
Step 19. The OST to Gmail import process has started; wait for a while.
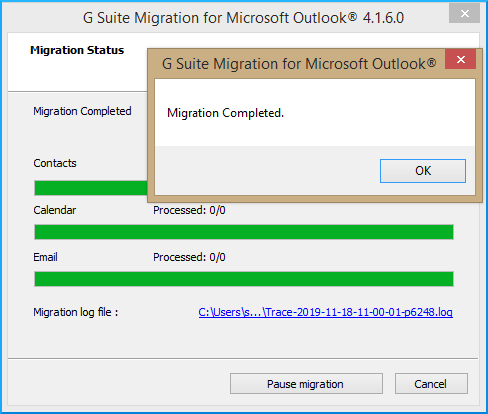
After the process completes, open Gmail, and you will see your imported Outlook data.
Limitations of the Manual Method
The manual process has several drawbacks:
- You must have Outlook installed
- OST must be in a healthy state
- You cannot import OST directly
- Process is long (3 separate steps)
- GSMMO does NOT support corrupted OST files
- Risk of errors, sync issues, or incomplete import
- Not suitable for large OST files
- Not friendly for non-technical users
Because of these limitations, many users cannot complete the manual method successfully.
How to Import OST to Gmail Automatically (Simple Way)
If the manual steps are too complicated or your OST file is not opening in Outlook, you can use a dedicated tool like Xtraxtor OST Converter.
This tool can:
- Import OST to Gmail directly
- Work without Outlook or Exchange
- Upload emails with attachments
- Maintain folders and formatting
- Handle large or damaged OST files
Click the FREE Download button to install the tool and check how it works. Once you are satisfied, you can buy the full version to import an unlimited number of OST emails to your Gmail account.
Note: The trial version allows you to import only 10 emails from each OST folder to Gmail.


Steps to Import OST File to Gmail Account
- Install and open the Xtraxtor tool.
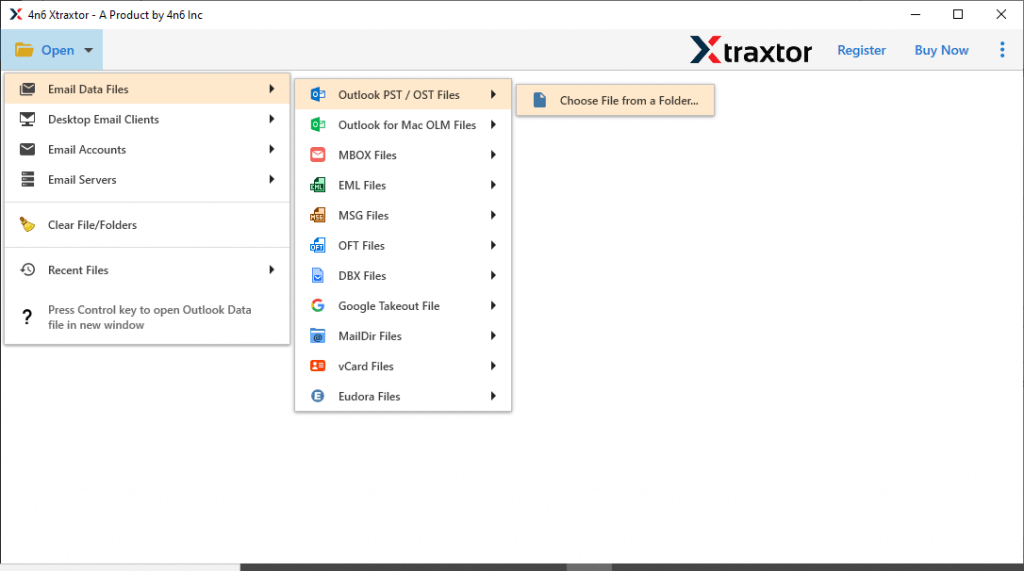
- Click Open >> Outlook Data File >> OST File >> Select File from Folder.
- Click Export → Select Gmail.
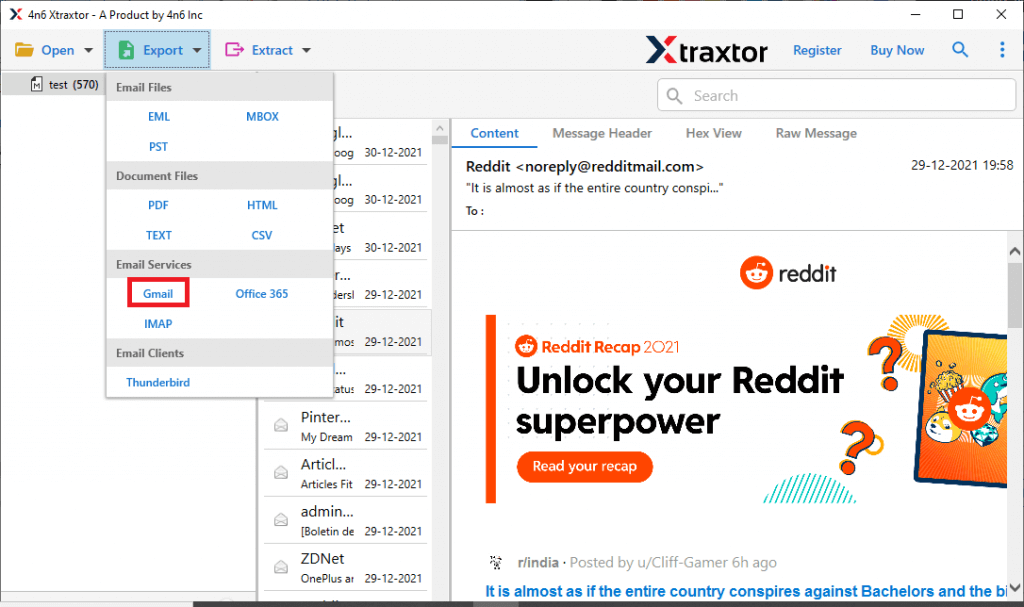
- Enter Gmail login details.
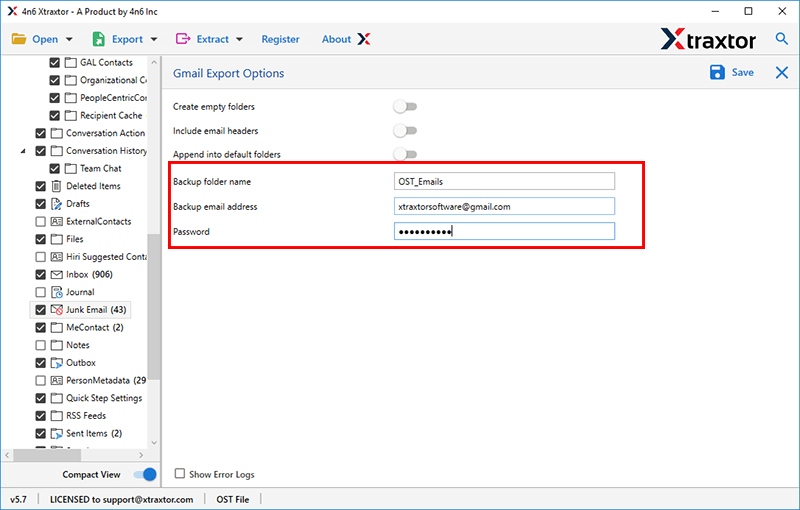
- Click the Save Button and analyze the process of Import.
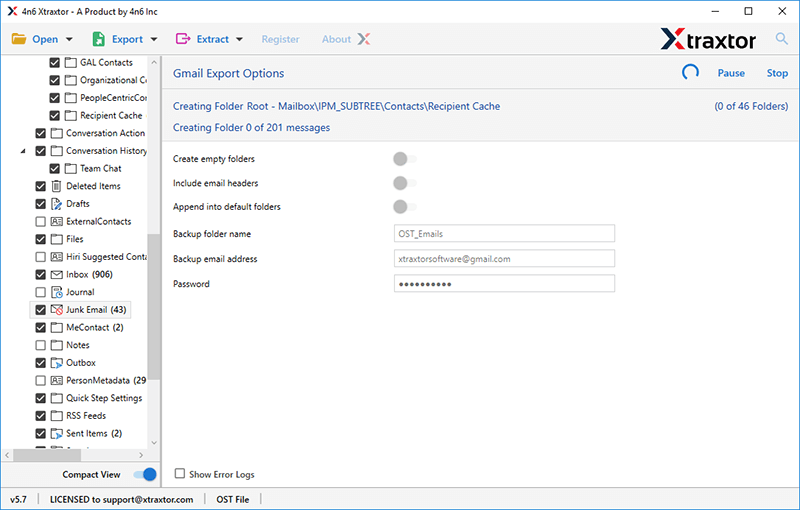
The tool then imports all OST data to Gmail automatically.
This method is faster and easier for users who cannot use the manual process.
Final Words
Importing OST files to Gmail is not as straightforward as it seems. Since Gmail cannot open OST files directly, the manual process requires finding the OST file, converting it to PST, and then importing it through a Google tool. This can be slow and confusing for many users.
If your OST file is inaccessible, large, or Outlook is not available, using a dedicated OST to Gmail tool is the safest and quickest option. It simplifies the entire process into a few clicks and avoids the common errors of manual methods.
