How to Export GoDaddy Emails to PST?

Many users want a safe and simple way to export GoDaddy emails to PST file along with attachments. PST format allows easy access to emails in Microsoft Outlook and helps users keep a secure offline backup. In this guide, you will learn two effective ways to convert GoDaddy email to PST: a manual method and a professional solution. Read till the end to choose the best option for your needs.
Why Export GoDaddy Emails to PST File?
Users convert GoDaddy to PST format for different practical reasons, such as:
- Free up mailbox space: GoDaddy email accounts have limited storage. Exporting emails helps make room for new messages.
- Create a secure backup: If your account is hacked, deleted, or affected by a virus, a PST backup keeps your data safe.
- Offline access: PST files can be opened in Outlook without an internet connection.
- Easy migration: PST files make it simple to move emails to another system or Outlook profile.
- Centralized storage: All emails and attachments are stored in a single file.
There are two ways to export GoDaddy emails to PST:
- Manual method using Microsoft Outlook
- Automated method using a professional email backup tool
Let’s go through both options step by step.
How to Convert GoDaddy to PST File Manually?
This method requires Microsoft Outlook. You first need to configure your GoDaddy email account in Outlook and then export it as a PST file.
1. Open your Outlook application on your Windows OS system.
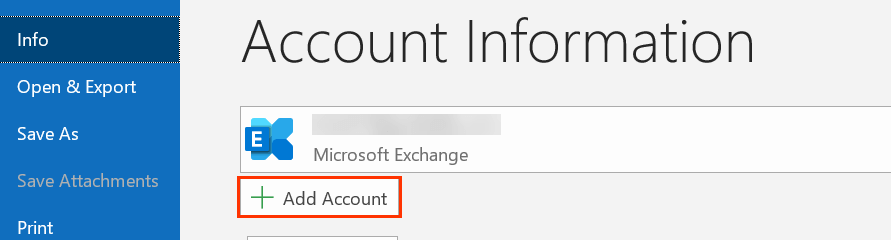
2. After that, click on File >> Add Account option.
3. Then, enter your GoDaddy email address and click the Connect button.

4. If Outlook automatically connects to your webmail account, then finish the process.
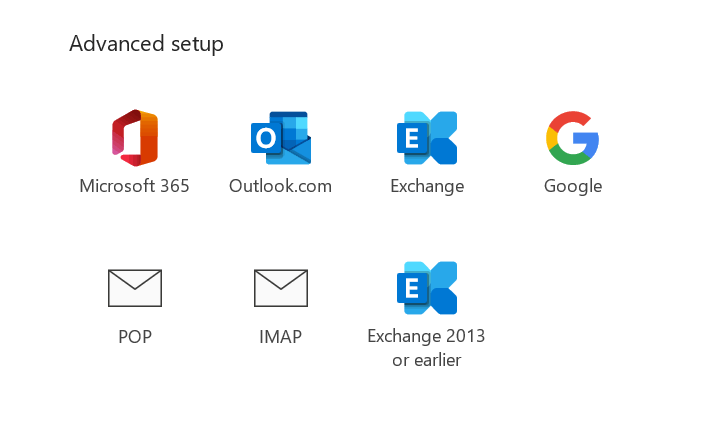
5. In Advance setup windows, choose the IMAP option.
6. Now you need to enter the GoDaddy IMAP setting –
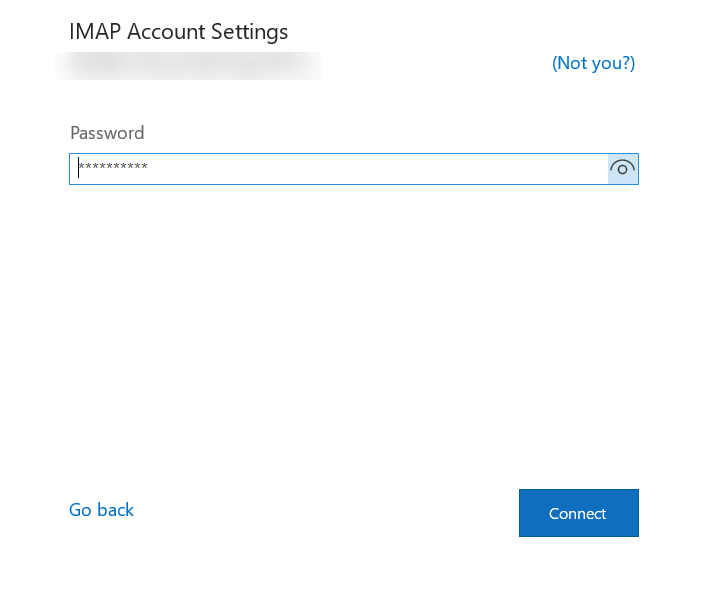
IMAP Server – imap.secureserver.net Port Number – 993
7. Then, enter your password and click the Connect button.
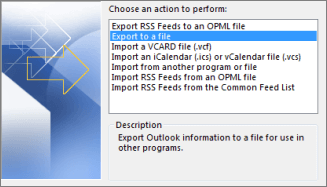
8. In the Outlook application, click on File >> Open & Export >> Import/Export.
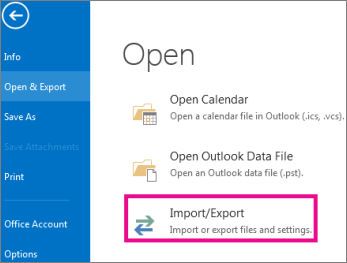
9. Then, choose the Export to a file option.
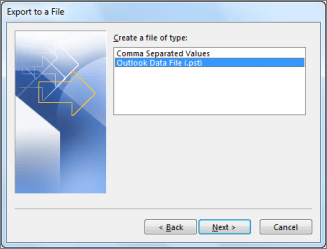
10. Select Outlook Data File (.pst) from the list.
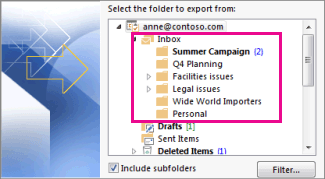
11. Select the email folders you want to export.
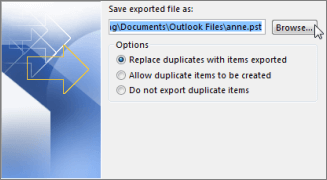
12. Browse the location to save the exported data file and hit the Finish button.
Here, you manually export GoDaddy emails to PST format.
However, with this native solution, there are some restrictions.
Limitations of the Manual Method
Although this method works, it has several drawbacks:
- Requires Microsoft Outlook installation
- Time-consuming with multiple steps
- No option to export selective emails
- High risk of errors or data loss
- Fails if Outlook import export is disabled
- Not suitable for large mailboxes
Because of these limitations, many users prefer an automated solution.
How to Convert GoDaddy Mailbox to PST Securely?
Try Xtraxtor and export emails from GoDaddy to PST file in a few simple clicks. Most importantly, you can use different filters to export selective emails from GoDaddy mailbox to PST file. Additionally, using this tool, you can backup GoDaddy emails to hard drive or another external storage device. With its simple user interface, one can perform the export process without any hassle.
Moreover, you can use this software to convert emails from GoDaddy mailbox to various webmail accounts in a few simple clicks. This tool can be installed and work on Windows 11, 10, and all previous version systems.

Steps to Export GoDaddy Emails to PST File
Follow the instructions and export emails from GoDaddy mailbox to PST file.
Step 1. Install and run Xtarxtor Email Backup Wizard on your Windows OS system.
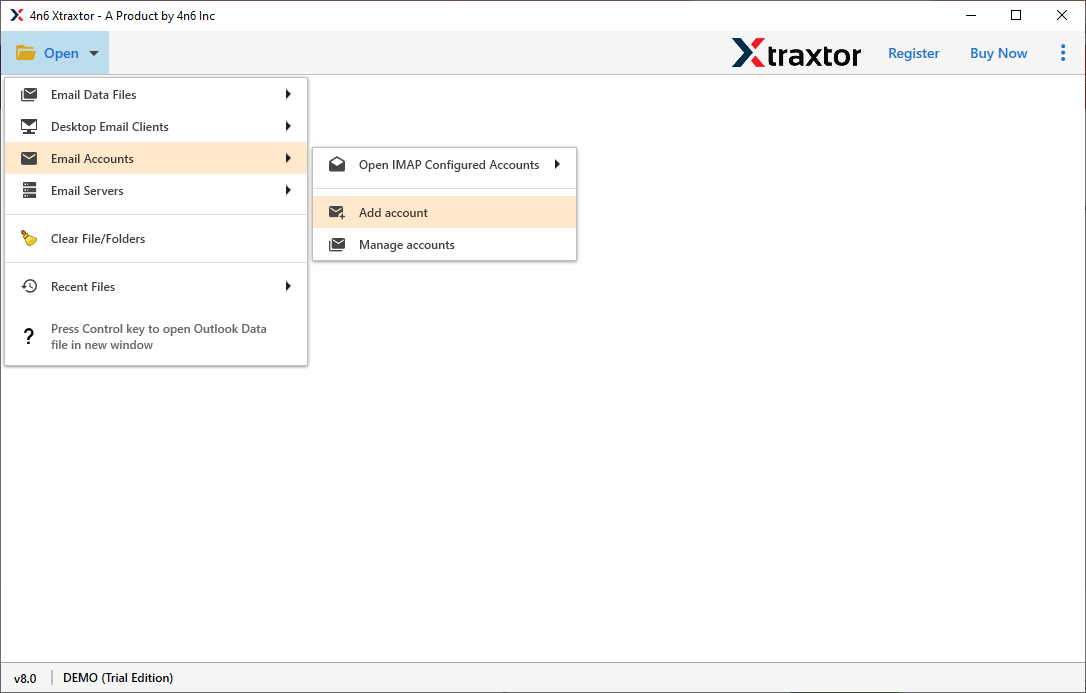
Step 2. Then, click on Open >> Email Accounts >> Add Account.
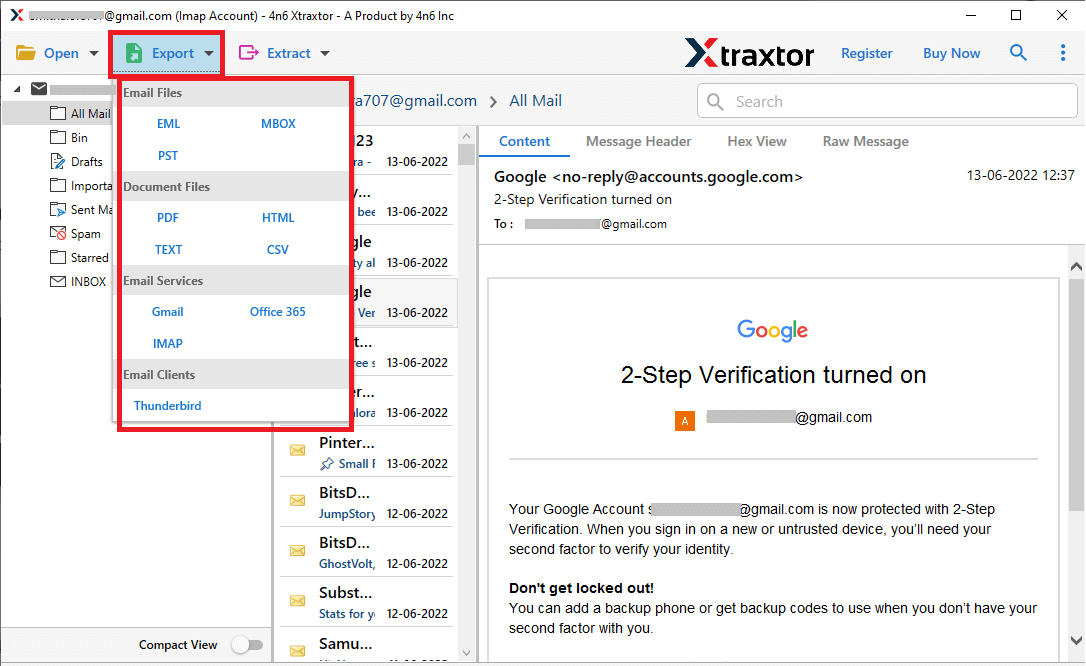
Step 3. Here you can view your emails before exporting them.

Step 4. Click on Export and choose PST format.
Step 5. Choose the email folders that you want to export.
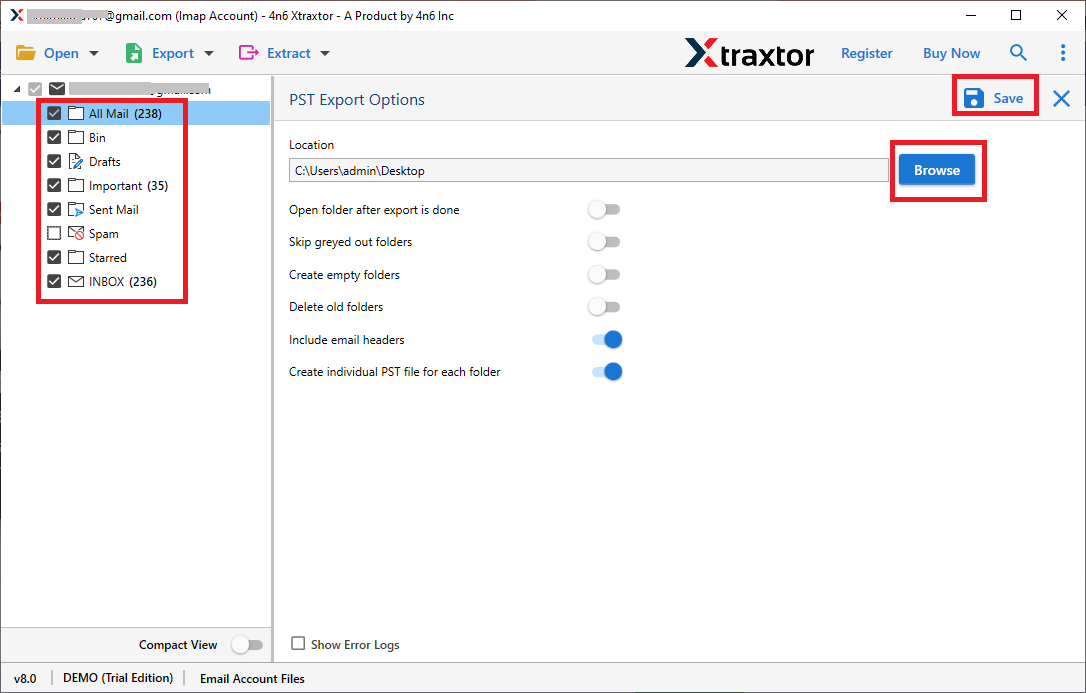
Step 6. Browse the location to save the exported data file, and at last, hit the Save button.

That’s it. Your GoDaddy emails are now exported to a PST file safely.
Why Use a Professional Tool?
Using an automated solution offers many advantages:
- Complete GoDaddy email backup without data loss
- Export emails along with attachments
- Maintains original folder structure
- Supports selective email export using filters
- Preview emails before exporting
- No dependency on Outlook
- Works with large mailboxes
Conclusion
Exporting GoDaddy emails to PST is a smart way to secure your important emails and access them offline in Outlook. While the manual method works for small mailboxes, it has several limitations and risks. For a fast, safe, and hassle-free experience, using a professional tool like Xtraxtor software is the best choice.
