How to Backup and Restore SiteGround Emails?

Learn how to backup and restore SiteGround emails locally on your system. Here, we will talk about the manual and automated ways to create backup and restore SiteGround emails to your PC with complete data.
If you are also one of the users who want to backup and restore SiteGround emails. Then read this blog very carefully and complete your task without any hassle.
Web hosting is a service that allows organizations and individuals to post a webpage on the internet. A web hosting service provider, provides necessary services for the website for web pages viewed on the internet. SiteGround is one of the most popular Webmail hosting providers. It offers various services to users such as shared hosting, cloud hosting, email hosting, domain registration etc. With every hosting plan, users will get a free email account with their domain name.
Why Backup and Restore SiteGround Emails is Important?
Backing up and restoring your data is important due to various reasons, some of them –
- Backing up SiteGround emails ensures you have a secure copy in case of emergencies.
- It helps protect your data from accidental deletion or server failures.
- Backups allow you to recover emails if SiteGround experiences data loss.
- Emails often contain important data like contacts, invoices, and confidential information.
- A backup can safeguard your emails from cyber threats and hacking attempts.
- If your email account is accidentally deleted, you can restore data from the backup.
How Manually Save and Restore SiteGround Emails?
To manually backup and restore SiteGround emails, you need to configure SiteGround email on Outlook. And then export SiteGround emails using Outlook import export feature. Hence, this method work in three phases.
Phase 1. Configure SiteGround Emails with Outlook
Step 1. Launch Outlook application and click on Account Settings.
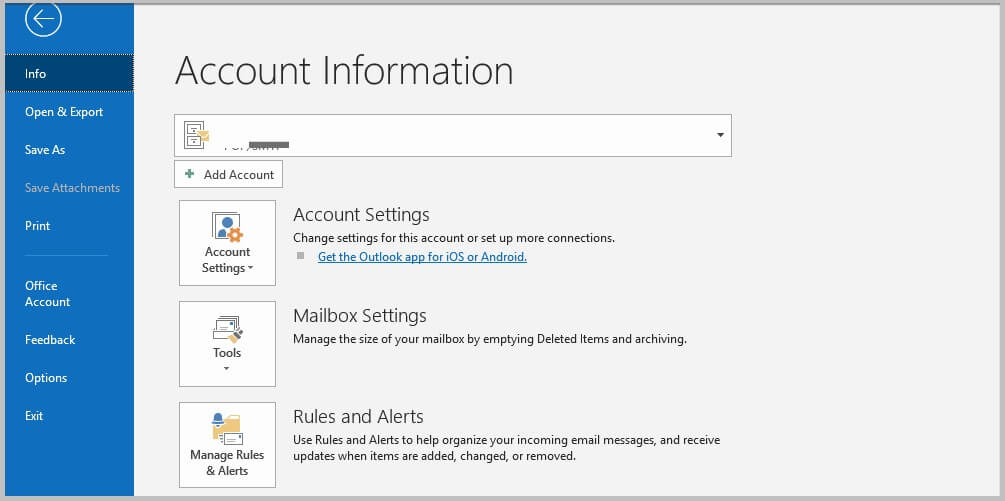
Step 2. After clicking the Account Settings, a pop up window will appear then click on New tab.

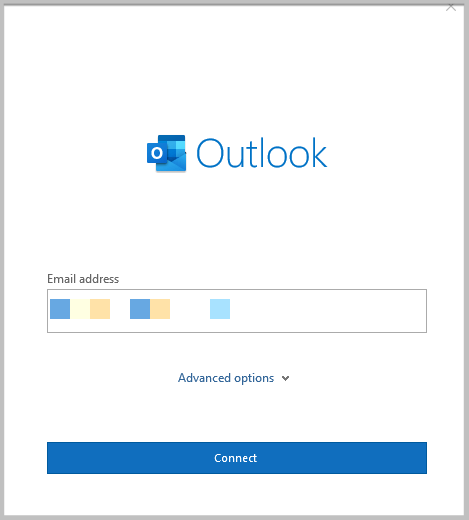
Step 3. Again a new popup window appear where enter the email address and then click connect.
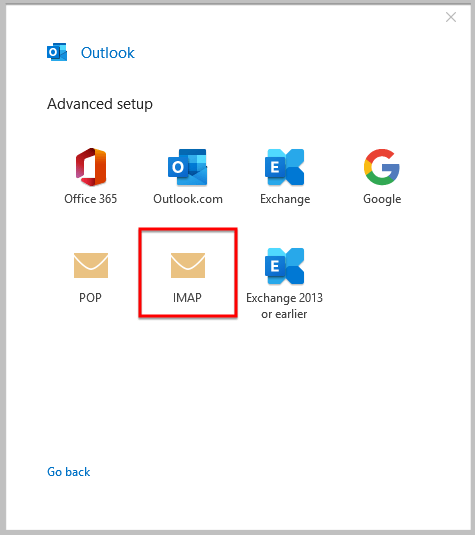
Step 4. After that, click on Advanced setup and select IMAP that will show you all the settings.
Step 4. Now, enter the appropriate information of your email account that are given below and click Next.
- Incoming Mail Section
- Server: check the exact hostname to use with each of your mail accounts in your Site Tools > Email > Accounts, choose the preferred email account and go to kebab menu > Mail Configuration and select Manual Settings tab;
- Port: 993;
- Encryption method: SSL/TLS;
- Require logon using Secure Password Authentication (SPA) – leave unchecked;
- Outgoing mail section
- Server: check the exact hostname to use with each of your mail accounts in your Site Tools > Email > Accounts, choose the preferred email account and go to kebab menu > Mail Configuration and select Manual Settings tab;
- Port: 465;
- Encryption method: SSL/TLS;
- Require logon using Secure Password Authentication (SPA) – leave unchecked;
Step 5. After clicking the Next, you need to enter the password of your email account.
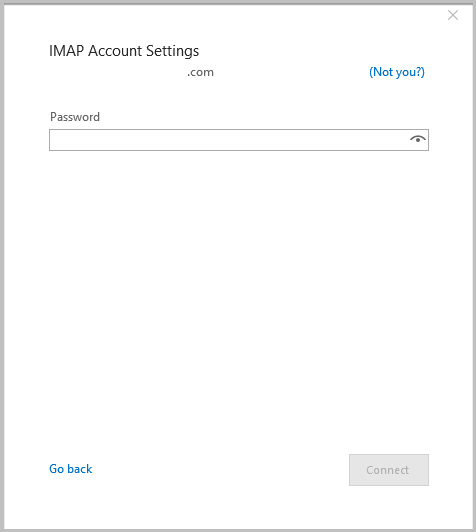
Step 6. After that, click on Connect button. Wait some time to add SiteGround emails to Outlook.
Step 7. After completion a success message appear. Click Done to finish the process.
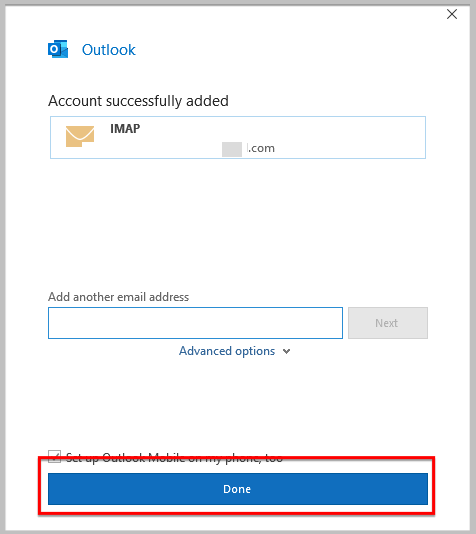
Hence, SiteGround emails are configured with Outlook.
Phase 2. Backup SiteGround Emails using Outlook Import/Export Feature
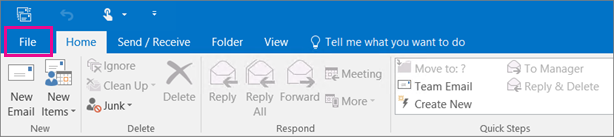
Step 1. Open MS Outlook application and click on File tab.
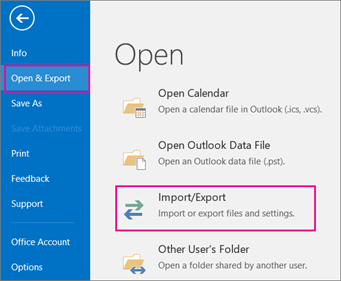
Step 2. Click on Open & Export >> Import/ Export option.
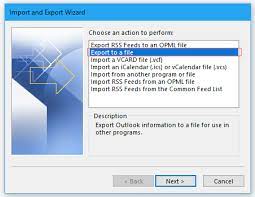
Step 3. Select Export to a File and click on Next button.
Step 4. Choose Outlook Data File (.pst) and click Next.
Step 5. Select SiteGround email account that is synchronized with Outlook.
Step 6. Choose the Destination path to store the resultant PST file.
Phase 3. Import PST File to Outlook to Restore SiteGround Emails
Step 1. Click on File tab at the top of Outlook ribbon.
Step 2. Now, Navigate to Open & Export >> Import/Export.

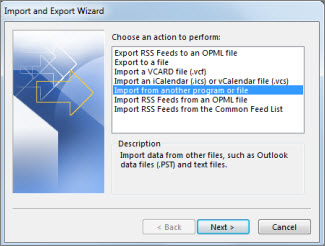
Step 3. Select import from another program or file and click on Next.
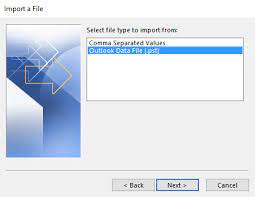
Step 4. After that, select Outlook Data File (.pst) and press Next.
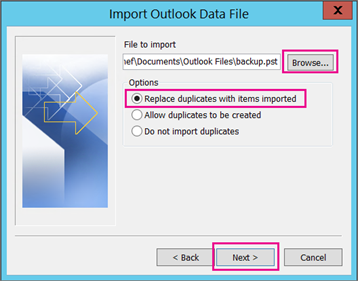
Step 5. Click on Browse and select the folders where PST file is store and click on Next.
Step 6. Select folders and subfolders to import and click on Finish button.

Demerits of Manual Approach
You manually backup and restore SiteGround emails but there are some limitations which are given below-
- In case if Outlook import export option greyed out then you can not backup and restore SiteGround emails using this approach.
- Manual method takes a lot of time to complete the process. It depends on the size of the site.
- There are some complicated steps in the process.
How to Backup and Restore SiteGround Emails?
To overcome all the limitations of manual solution and effectively backup siteGround emails, you can use Xtraxtor, that is specially designed to take backup email accounts. The software downloads all mailbox data of SiteGround at the same time without any extra effort. With this application you do not worry about data loss. It provides accurate results without modifying the original structure of emails. There are advanced filter options to save emails within a specific date, time etc.
Apart from this, the tool can backup Outlook emails to hard drive, Gmail, Office 365 etc. the simplified interface helps beginners to backup and restore SiteGround emails without any external guidance. You can download the free demo version of this tool to check its work efficiency and accuracy.

Process to Backup and Restore SiteGround Emails
Step 1. Download and Run Xtraxtor Email Mail Backup Tool on your Windows PC.
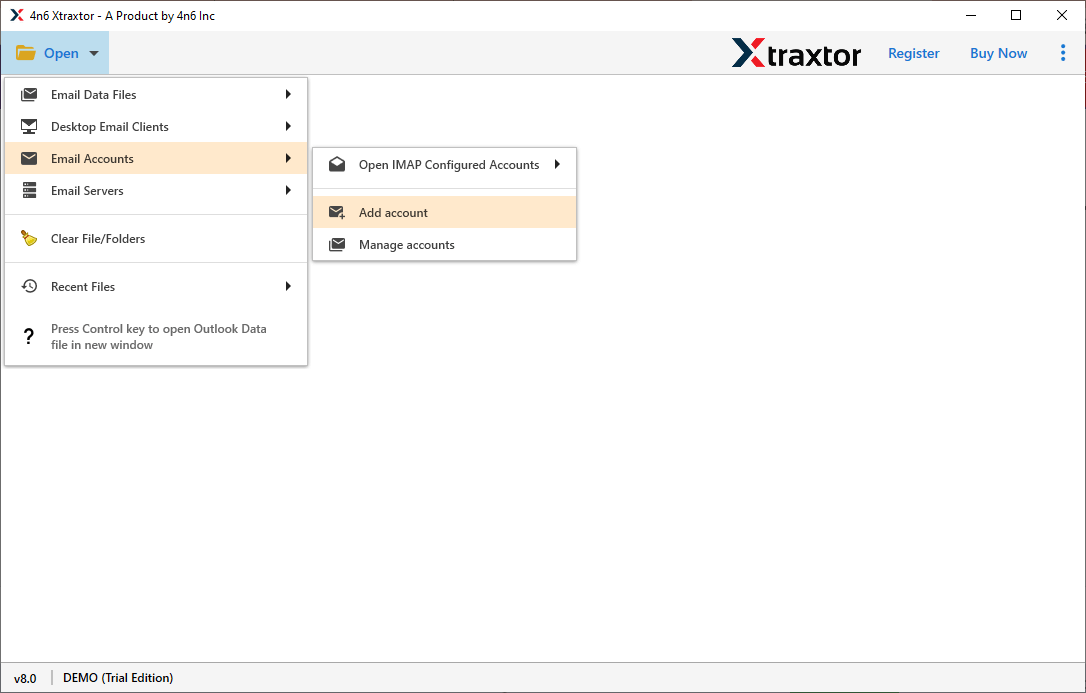
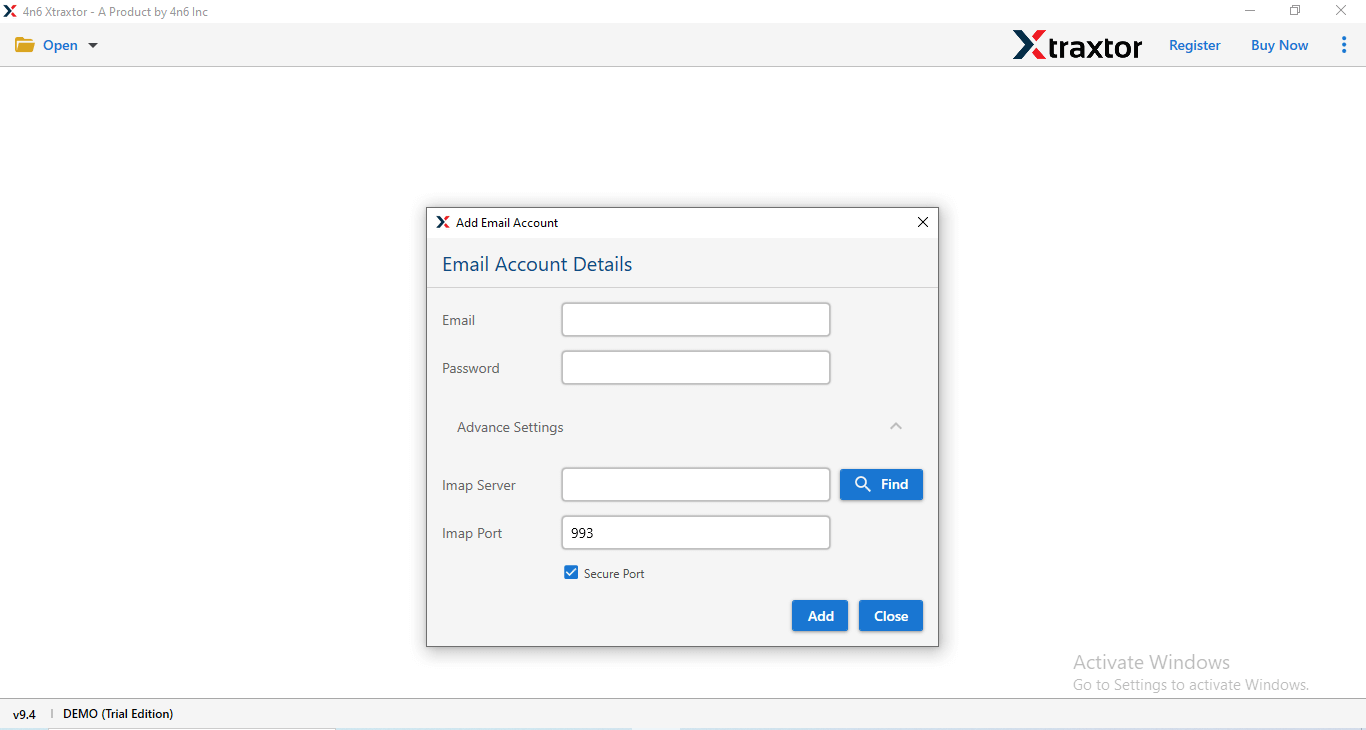
Step 2. Now, Navigate to Open >> Email Accounts >> Add Account.
Step 3. Enter your Email Account credentials and click on Advanced settings to enter IMAP Server from your email account and press Add Button.
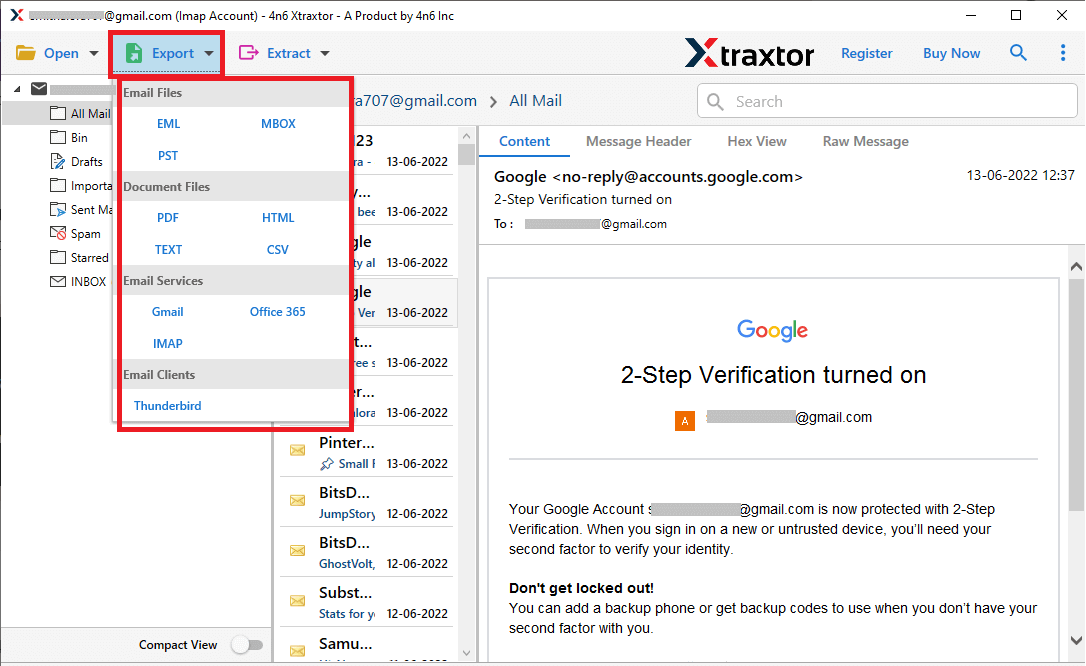
Step 4. After that, click on Export and select any file format to save SiteGround emails.
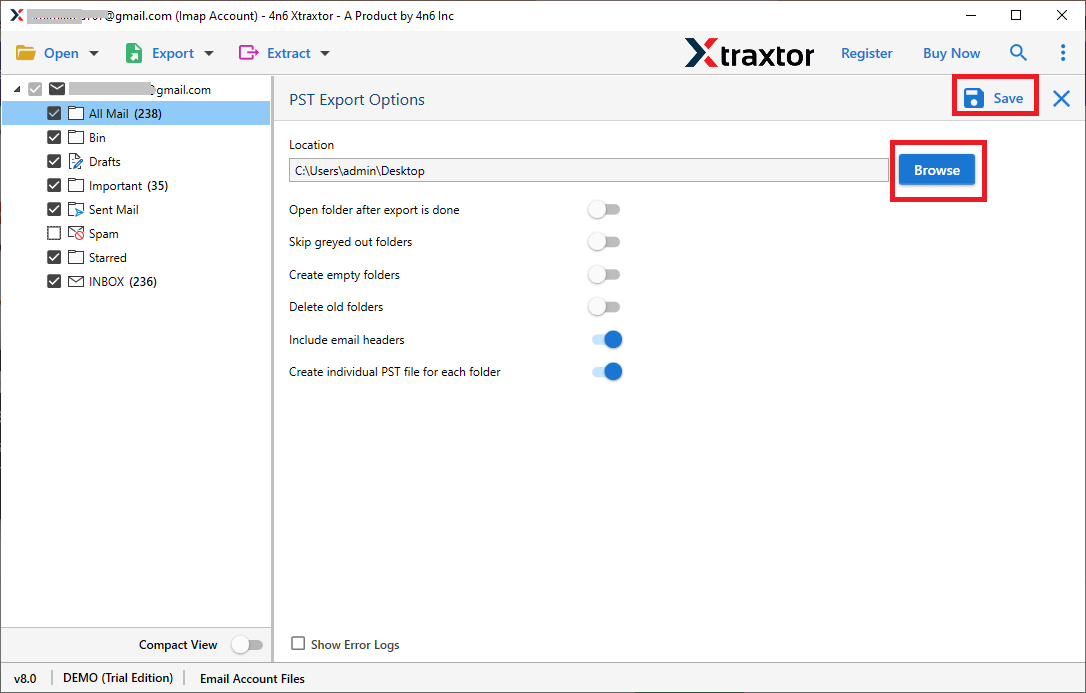
Step 5. Click on Browse to set the Destination location and then click on Save button to save the exported emails.
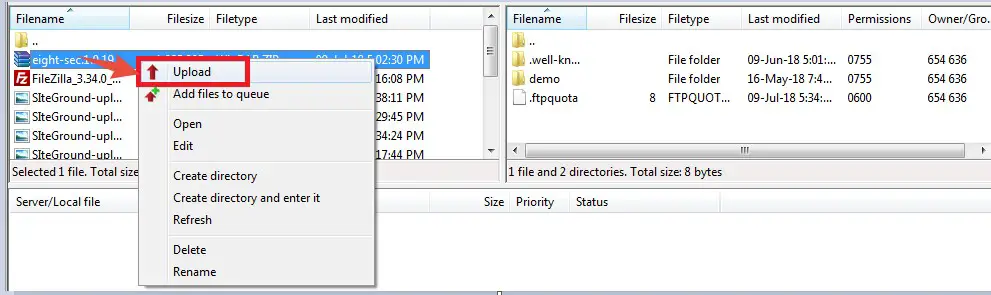
Step 6. Upload this exported file to SiteGround email account to restore SiteGround emails.
The process is done. Hence, you can easily save SiteGround email in your desired format and restore it in a few simple clicks.
Why Choose Xtraxtor Tool?
The software has many advanced features that help you to backup and restore SiteGround emails easily which are-
Backup SiteGround Emails in Batch- The software allows you to export multiple SiteGround email accounts at the same time. Hence, it saves your time and effort to backup whole SiteGround mailbox data.
Maintains Folder Hierarchy- It does modify the original structure of email folders and subfolders during the exporting process. Emails remain in their original format after the backup process.
Advanced Filter Option- Tool provides multiple filter options such as to, from, date, time, cc, bcc etc. If you do not want to save all emails then filter helps you to backup only necessary emails.
Preview & Search Option- When you add email accounts in the software panel then it loads all data from the accounts. You can view and select the particular emails to download it.
Freedom to Choose Saving Location- When you backup SiteGround emails with this application then it allows you to save the backup file at your desired location. So that you can access it easily for further use.
Vast Compatibility- The tool supports all latest and old versions of Windows OS. you can run this utility on Windows 11, 10, Vista, XP etc.
Conclusion
In this post we have discussed how to backup and restore SiteGround emails. Both manual and professional methods are described stepwise. You can choose any method that is suitable for you. But, there are some limitations in the manual solution. However, the Xtraxtor Email Backup Tool easily saves your whole SiteGround emails with complete accuracy in a few simple clicks.
