How to Transfer Emails from Rackspace to Office 365 in 2025?

This write-up is about how to transfer emails from Rackspace to Office 365 mailbox. Read the complete post and transfer Rackspace to Office 365 with attachments.
Transferring emails from Rackspace to Office 365 can feel confusing, especially if you’re worried about losing emails, missing attachments, etc. If you don’t use the right method, the process can become frustrating and time-consuming.
But don’t worry! This guide will show you a simple and safe way to migrate Racksapce emails to Office 365 account. Whether you’re switching for better features or a more secure platform, we’ll help you get it done easily.
Before we talk about the methods of transferring your emails, let’s know the reasons for that.
Why Choose Office 365 for Migration?
Office 365 is a great choice for email migration because it offers many benefits. Here’s why you should consider to transfer Rackspace emails to office 365 account:
1. Access Anywhere: Since Office 365 is cloud-based, you can check your emails and files from any device, anytime, as long as you have the internet.
2. Strong Security: It keeps your emails safe with features like multi-factor authentication, encryption, and spam protection.
3. Easy Collaboration: With tools like Microsoft Teams, OneDrive, and SharePoint, you can work with your team in real-time, even if you’re in different locations.
5. Works for Everyone: Whether you have a small business or a large company, Office 365 has flexible plans to match your needs.
6. Reliable Email Service: Office 365 offers a professional email system with spam filtering, auto-archiving, and recovery options.
7. Saves Money: You don’t need to spend on expensive servers or IT maintenance. Office 365 is a cost-effective solution with a simple subscription model.
By moving all Rackspace emails to Office 365, you get a secure, easy-to-use, and future-ready platform that helps you stay productive and connected.
How to Transfer Emails from Rackspace to Office 365 Manually?
You can manually migrate Rackspace emails to Office 365 using the Outlook application. You need to add both Rackspace email account and Office 365 in MS Outlook. After that, you can export Rackspace emails to PST and then import the exported PST file to Office 365. Follow the given instructions to transfer emails from Rackspace to Office 365.
Phase 1. Configure Rackspace with MS Outlook
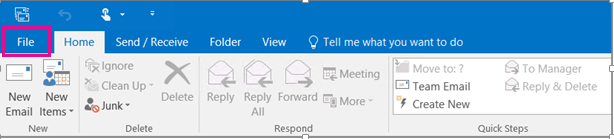
Step 1. Launch Outlook and click on the File tab.
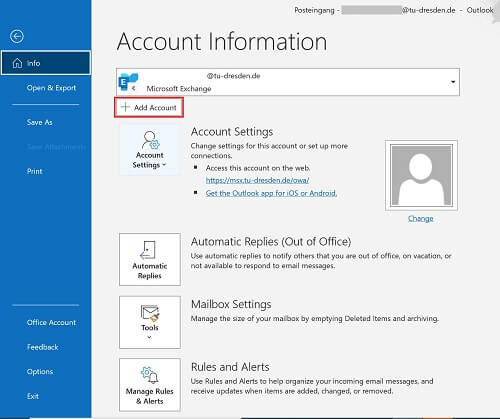
Step 2. Now, Click on the Add Account button.
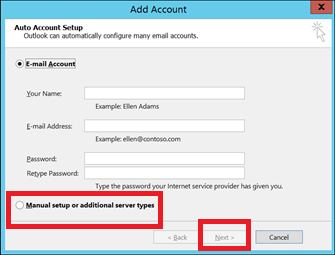
Step 3. Select the Manual setup or additional server types option and click on Next.
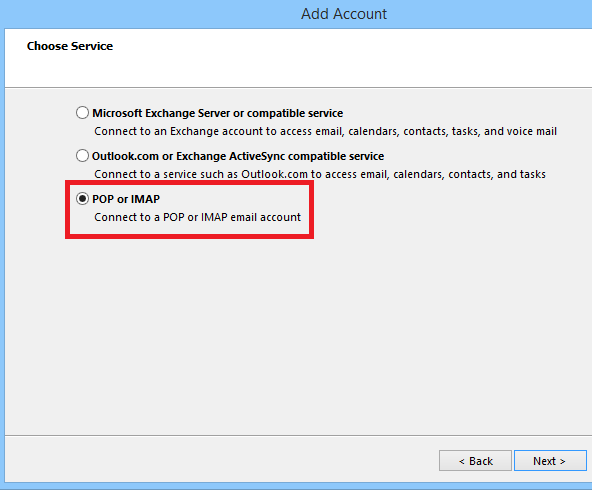
Step 4. After that, Choose POP or IMAP and click on Next.
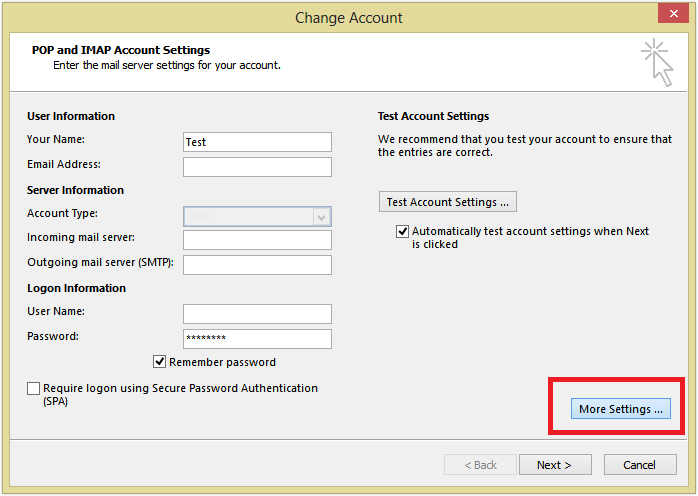
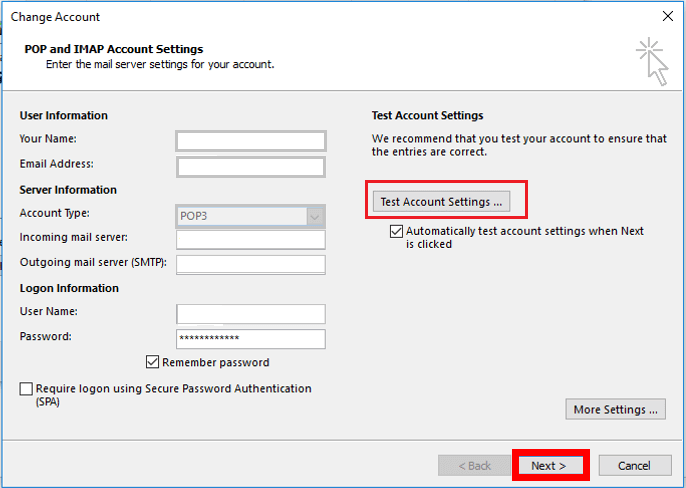
Step 5. Fill out the IMAP details and click on the More Settings button.
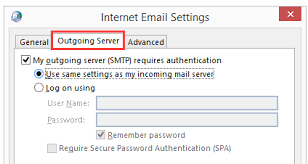
Step 6. Go to the Outgoing Server tab and check the box that says My outgoing server (SMTP) requires authentication.
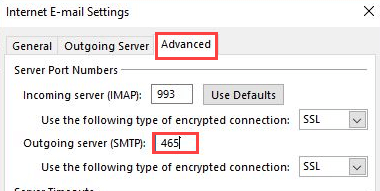
Step 7. Now click on the Advanced tab and set the following settings.
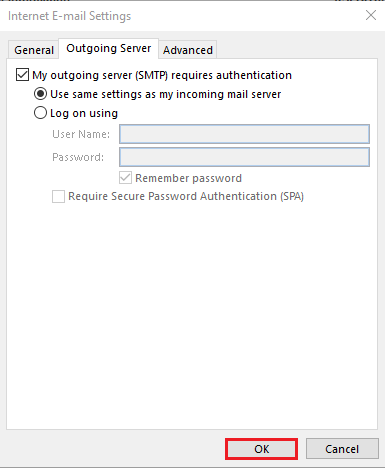
Step 8. Click on OK to close the Internet Email Settings window.
Step 9: Click “Test Account Settings,” then “Next” and “Finish” if successful.
Hence, Your Rackspace account is added in Outlook. Now add the Office 365 account in Outlook in same manner.
Steps 10. File >> Add account and select Office 365.
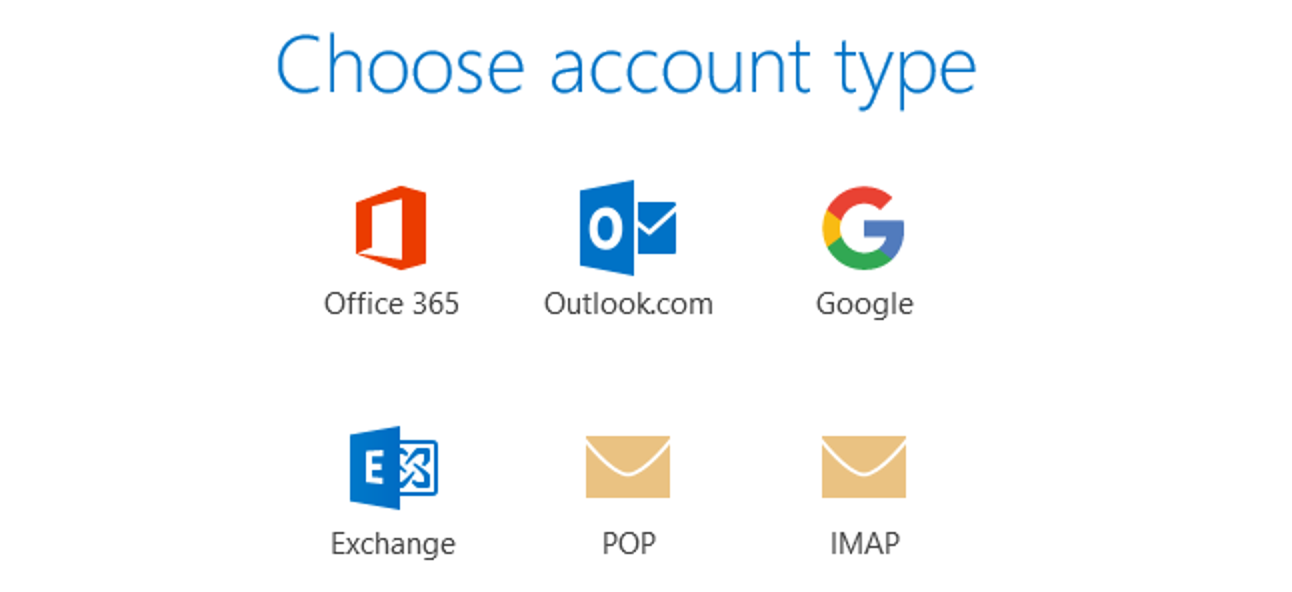
Step 11. Now enter the IMAP details to complete the configuration.
Step 2. Export Rackspace Emails to PST
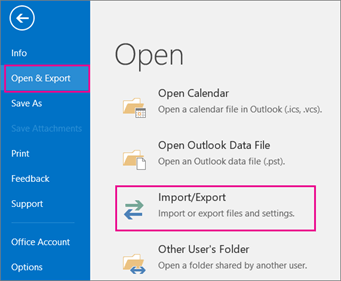
Step 1. First of all, restart the Outlook application, then Go to the File tab.

Step 2. Now, navigate to Open & Export >> Import/Export option.
Step 3. After that, select the Export to a file and click on the Next button.
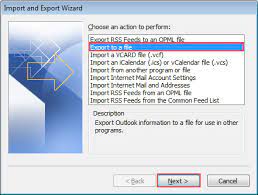
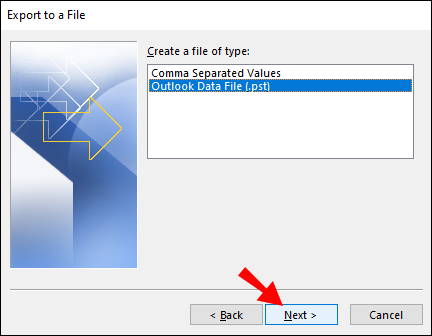
Step 4. Select Outlook data file(.pst) and tap on the Next button.
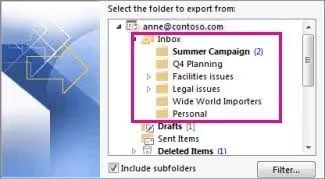
Step 5. Choose the Rackspace emails that you need to move into Office 365.
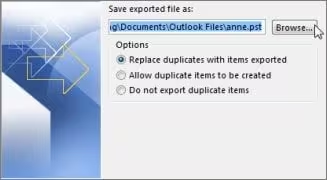
Step 6. Browse the destination location to save the resultant data file and press the Finish button.
Now, you can see that your Rackspace emails have been successfully saved into PST file format.
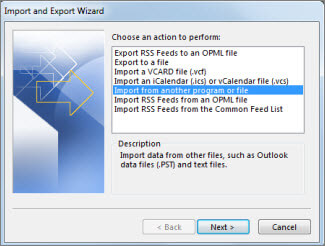
Step 7. Again go to File >> Import/Export >> Import from Another Program or File.
Step 8. Browse the exported PST file and select it.
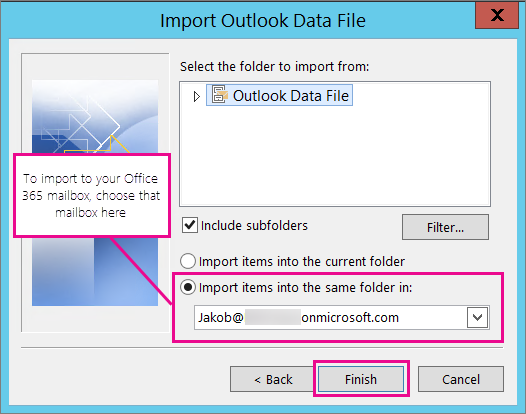
Step 9. Select “Import items into the same folder in” and choose your Office 365 account. At last click “Finish.”
The process is finished. Hence, you can transfer emails from Rackspace to Office 365.
Loopholes of Manual Solution
- This is such a lengthy and time-consuming process.
- Outlook installation is required to complete the transfer process.
- The method contains some technical steps. Non-technical users face difficulty in performing the process.
How to Migrate Rackspace Emails to Office 365 Automatically?
Download and run Xtraxtor software on your system and transfer your emails to Office 365 mailbox. With its simple and user-friendly interface, it is easy to complete the migration without any data loss. It will move all your emails directly from your Rackspace mailbox to Office 365 with complete data. With its search features it is easy to find the selective emails by applying the different filters such as – to, from, cc, bcc, name, date, time, etc.
Try the free demo version of this tool and check how it works so easily. Click the below click and download the free version of the software.

Steps to Transfer Emails from Rackspace to Office 365
Step 1. Download and run Xtraxtor on your system.
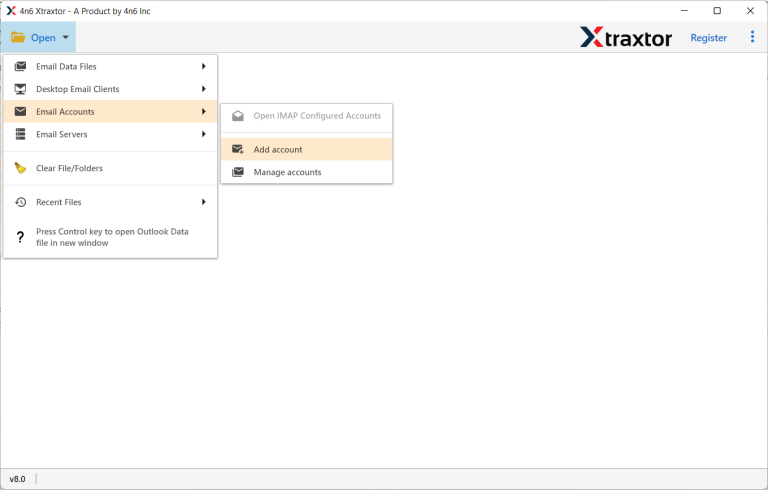
Step 2. After that, Click on Open >> Email Accounts >> Add Account.
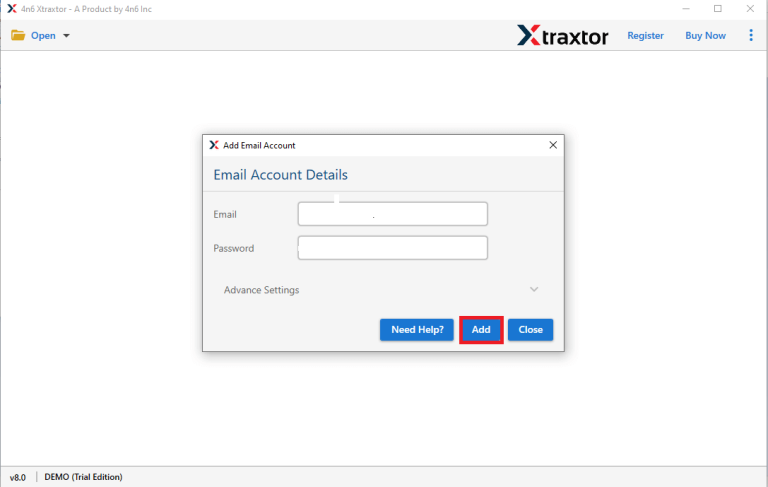
Step 3. Enter the credentials of the Rackspace account and click on the Add button.
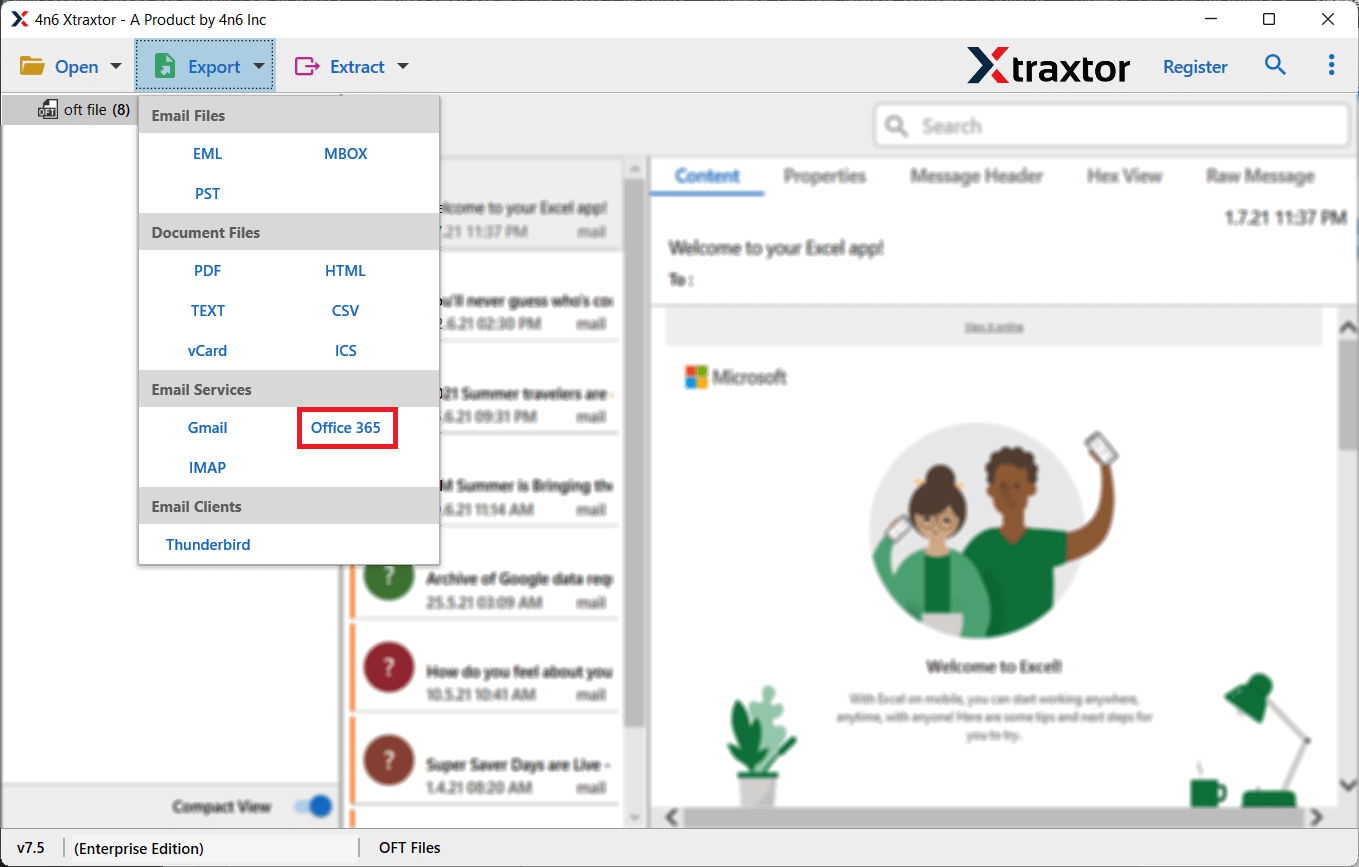
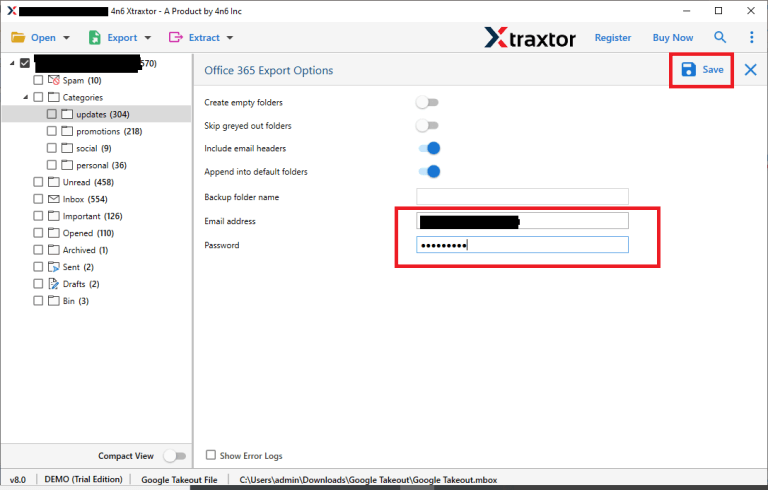
Step 4. Thereafter, Go to Export and select Office 365 from the given options.
Step 5. Enter the Office 365 credentials and click on the Save button to start the process.
Done! Now, open Office 365 account and check the Rackspace emails. Hence, using this tool you can easily transfer emails from Rackspace to Office 365 in a few simple clicks.
Why Use the Rackspace to Office 365 Migration Tool?
- The tool can directly move Rackspace emails to Office 365 in simple five steps.
- Using this tool, you can export Rackspace emails to PDF, PST, MBOX and 20+ file formats.
- Provides advanced filter options such as to, from, cc, bcc, subject etc. to transfer selected emails.
- Preview options to view Rackspace emails before the exporting process.
- using this tool, you can migrate Rackspace email to Gmail or other cloud-based services.
- The tool does not modify the original structure of emails during the migration process.
- Do not require to install any other applications to perform the process.
- Compatible with all the latest and old versions of Windows OS.
Conclusion
Moving emails from one platform to another can be challenging. Many users need to transfer emails from Rackspace to Office 365 for better accessibility and security. In this guide, we have shared effective methods to migrate Rackspace emails to Office 365. You can choose the method that best fits your needs. However, using the recommended tool, you can easily transfer Rackspace emails to Office 365 without any risk of data loss.
Frequently Asked Questions
Q 1. How do I migrate from Rackspace to Office 365?
Ans. First, reach out to Microsoft 365 technical support for guidance on the migration process. If their solution seems too complex, you can opt for the method mentioned above. This allows you to transfer your Rackspace emails to Office 365 easily and efficiently.
Q2. Can I move the selected Rackspace folder to Office 365?
Ans. Yes, the tool allows you to select the email folders that are important to you and transfer them only.
